Sign up to start using Honcho!
Start using the platform to manage Honcho instances for your workspace or app.
1. Go to app.honcho.dev
Create an account to start using Honcho. If a teammate already uses Honcho, ask them to invite you to their organization. Otherwise, you’ll see a banner prompting you to create a new one.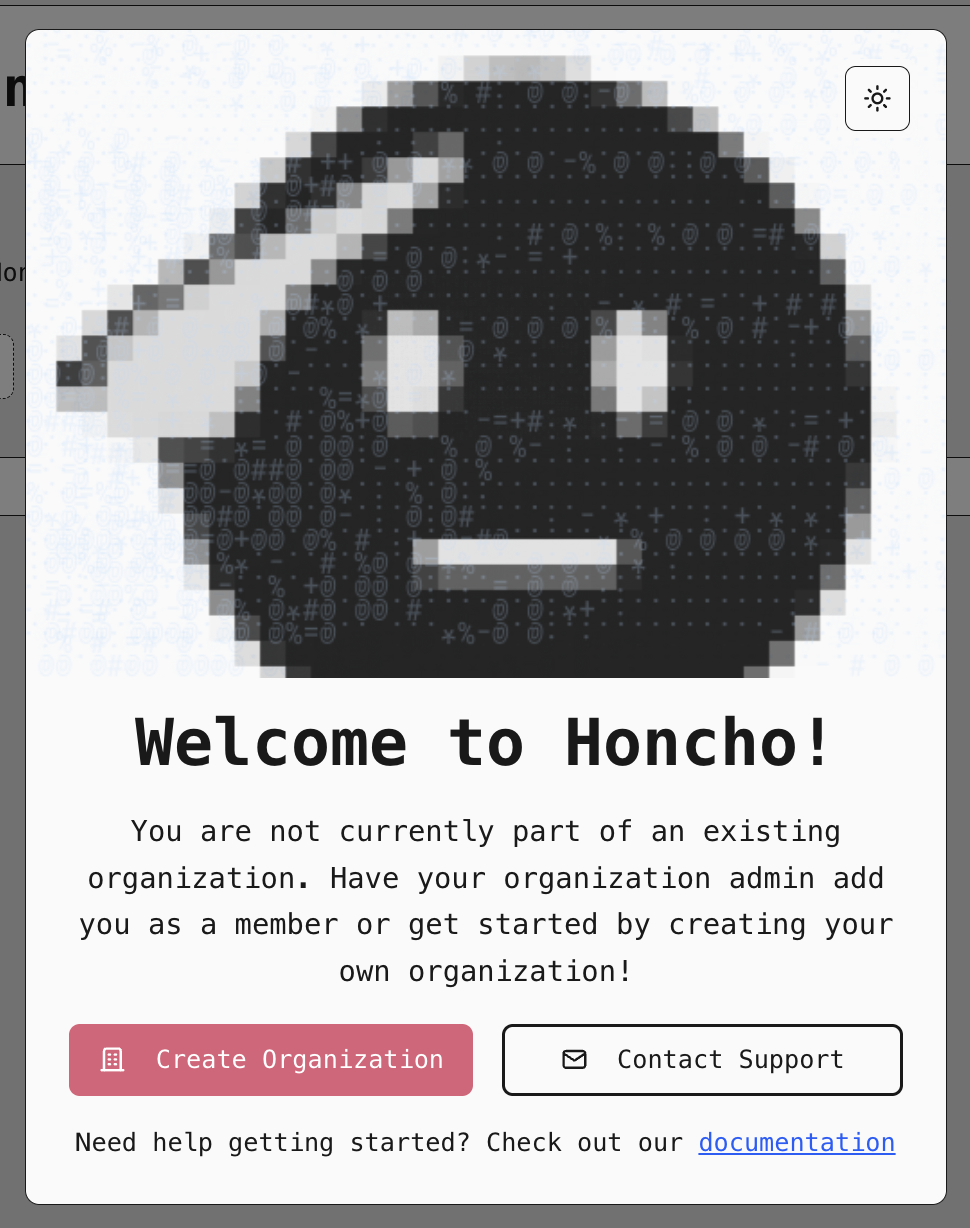
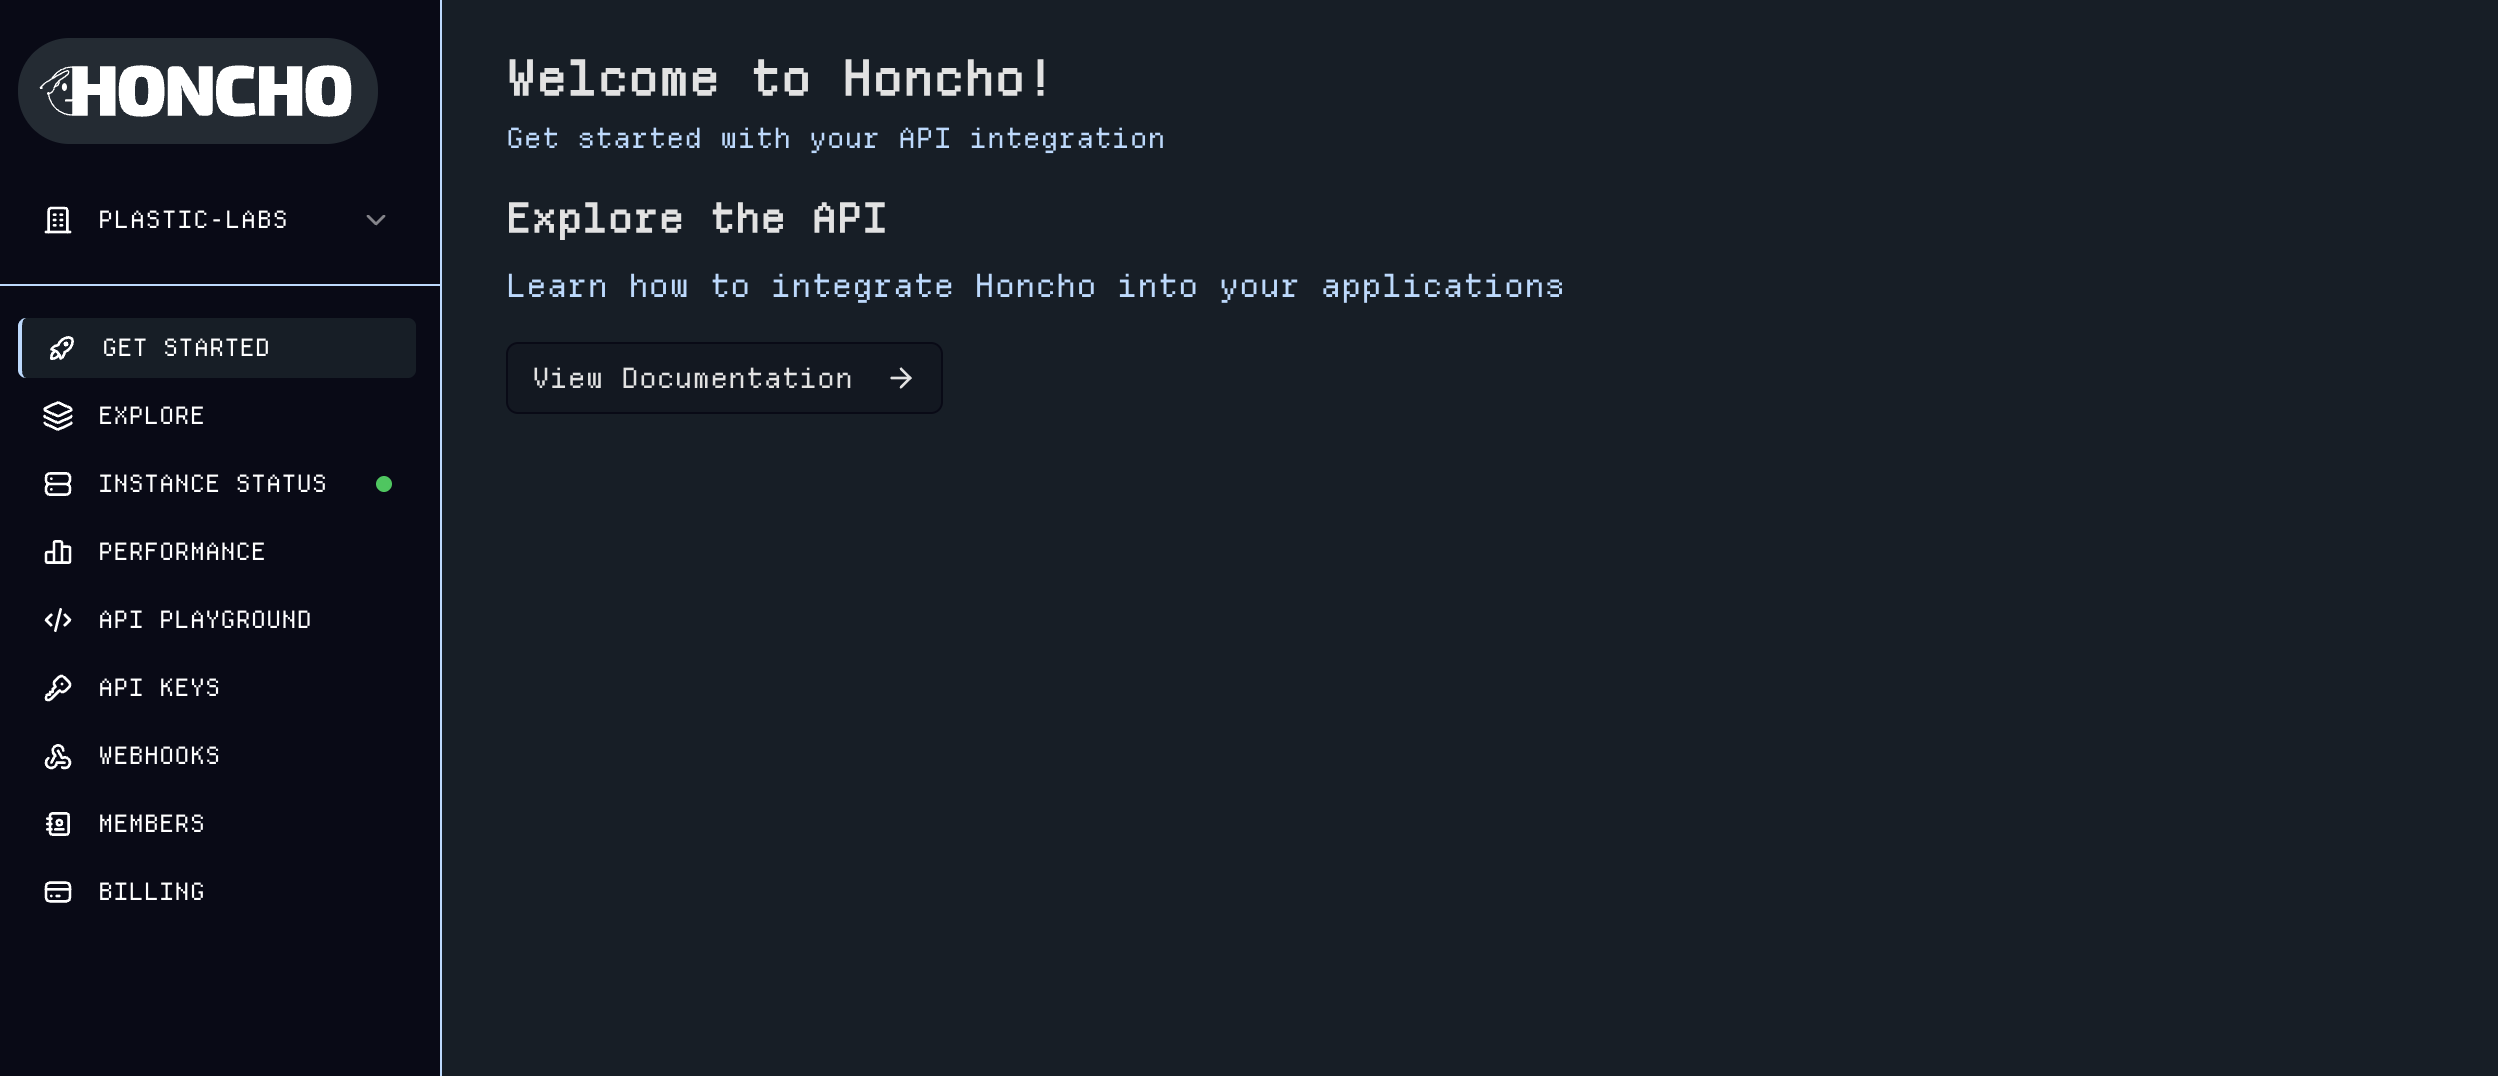
2. Activate your Honcho instance
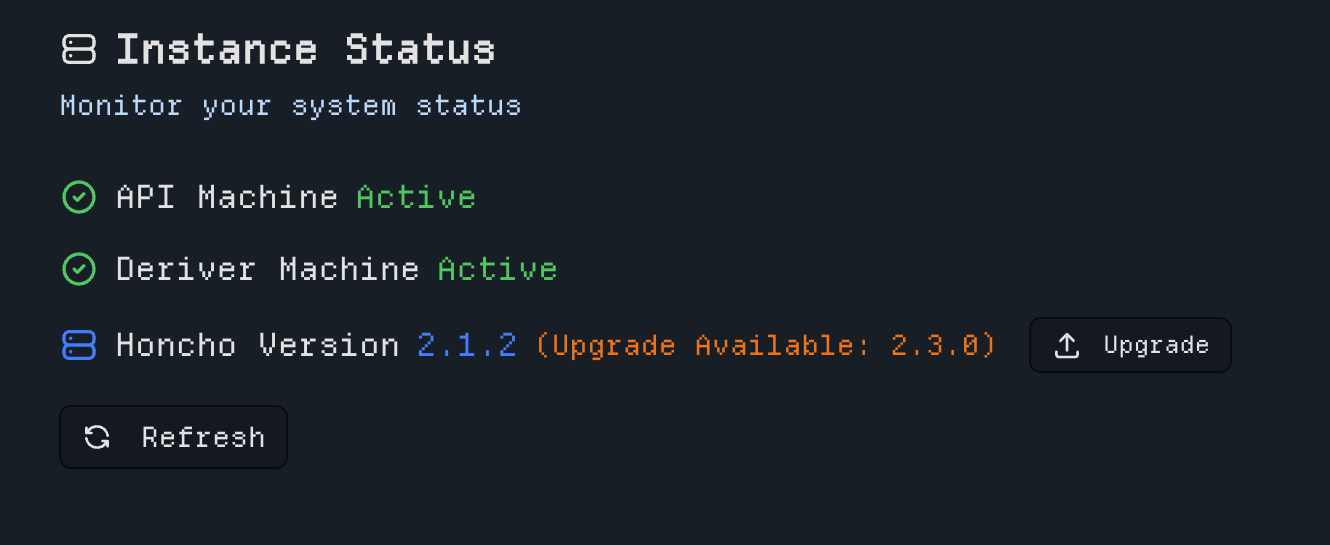
With credits and a payment method on file (managed via the Billing page), your Honcho instance will be provisioned and ready to use. Monitor your machine status, and check for version upgrades on the Instance Status page.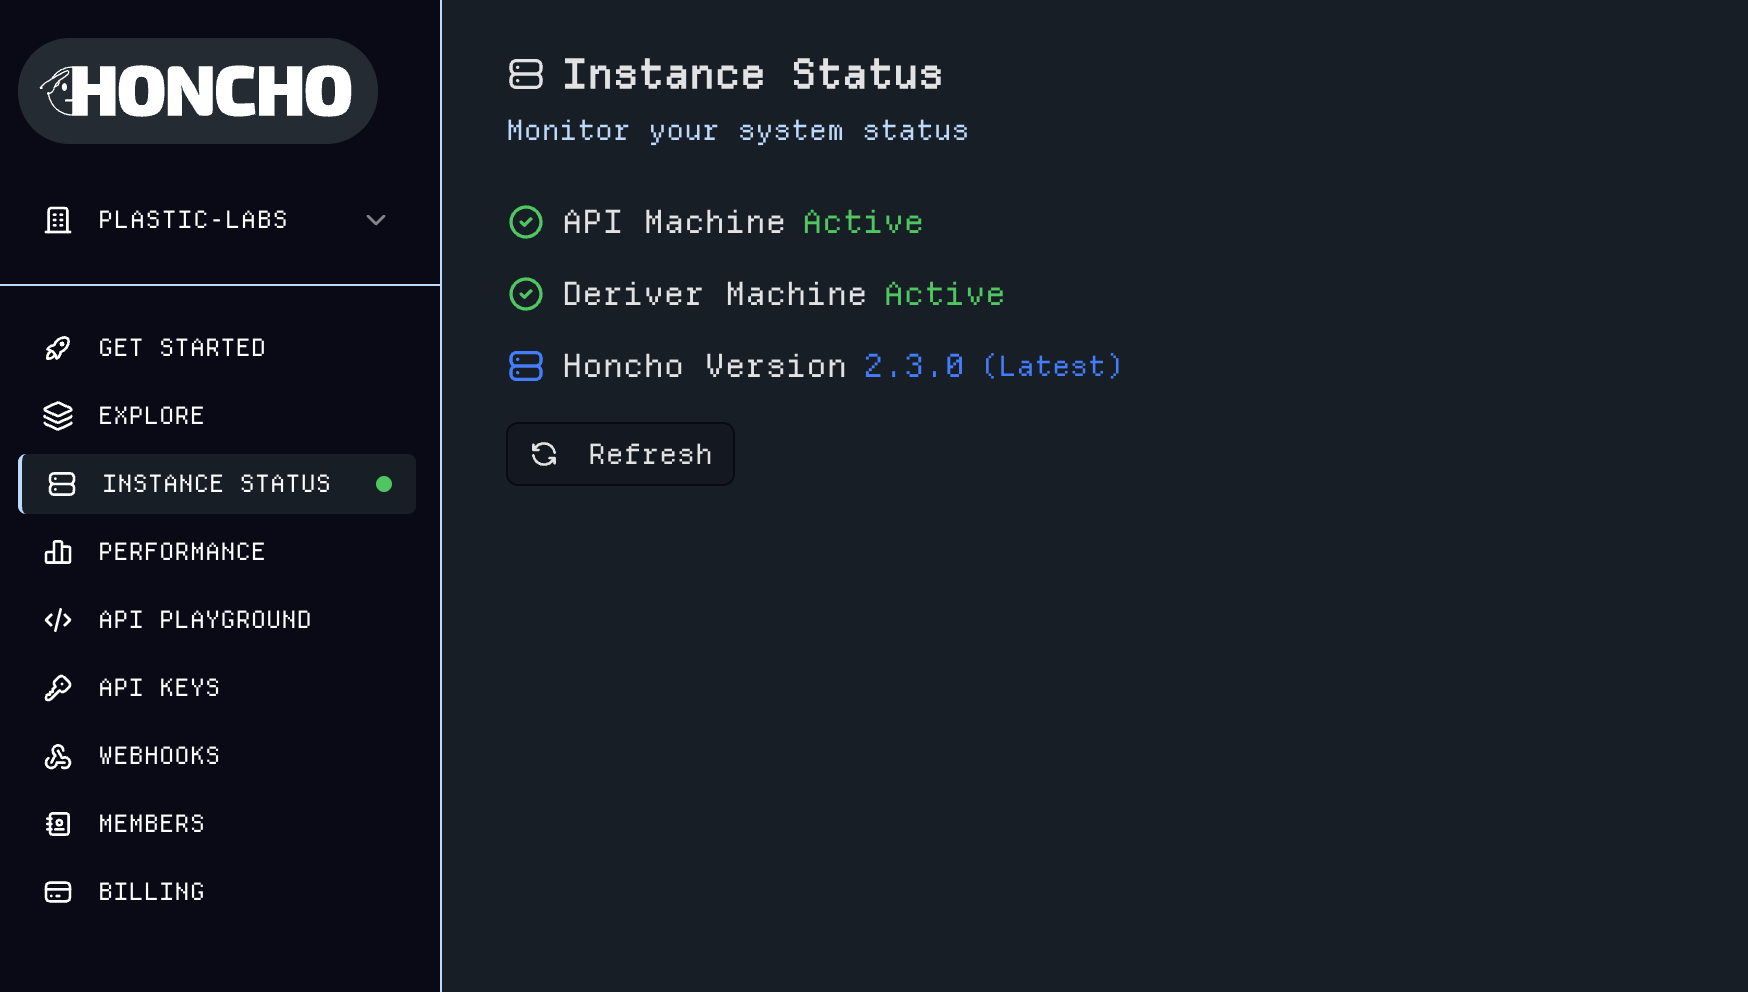
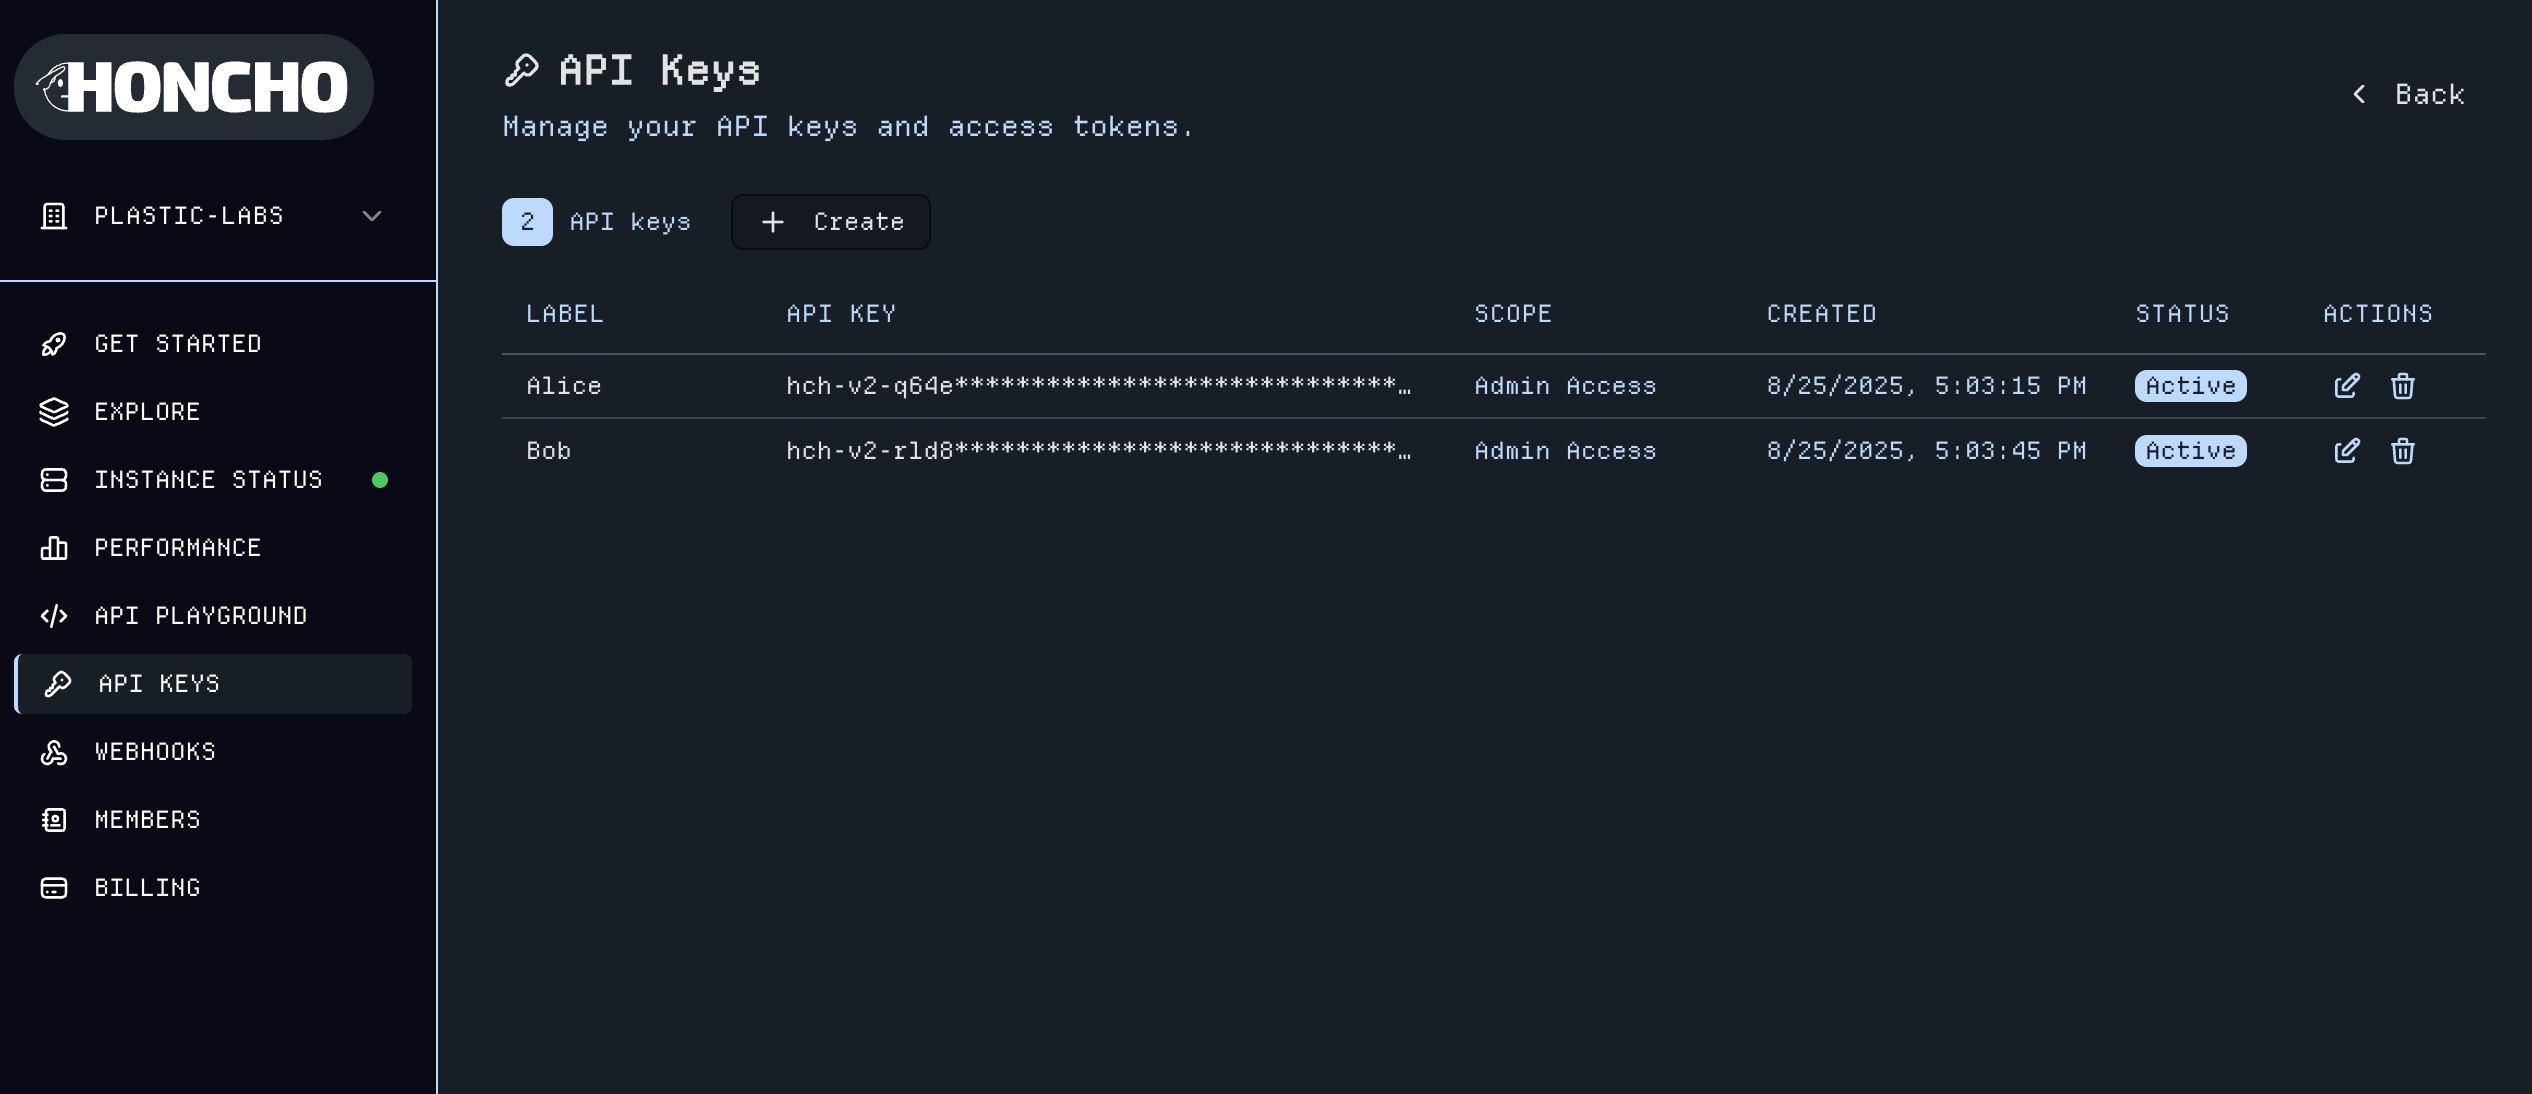
3. Manage API Keys
The API Keys page allows you to create and manage authentication tokens for different environments. You can create admin-level keys with full instance access or scope keys to specificWorkspaces, Peers, or Sessions.
4. Test with API Playground
The API Playground provides a developer-friendly interface to quickly iterate and test queries, explore endpoints, and validate your integration directly from your browser—no code required.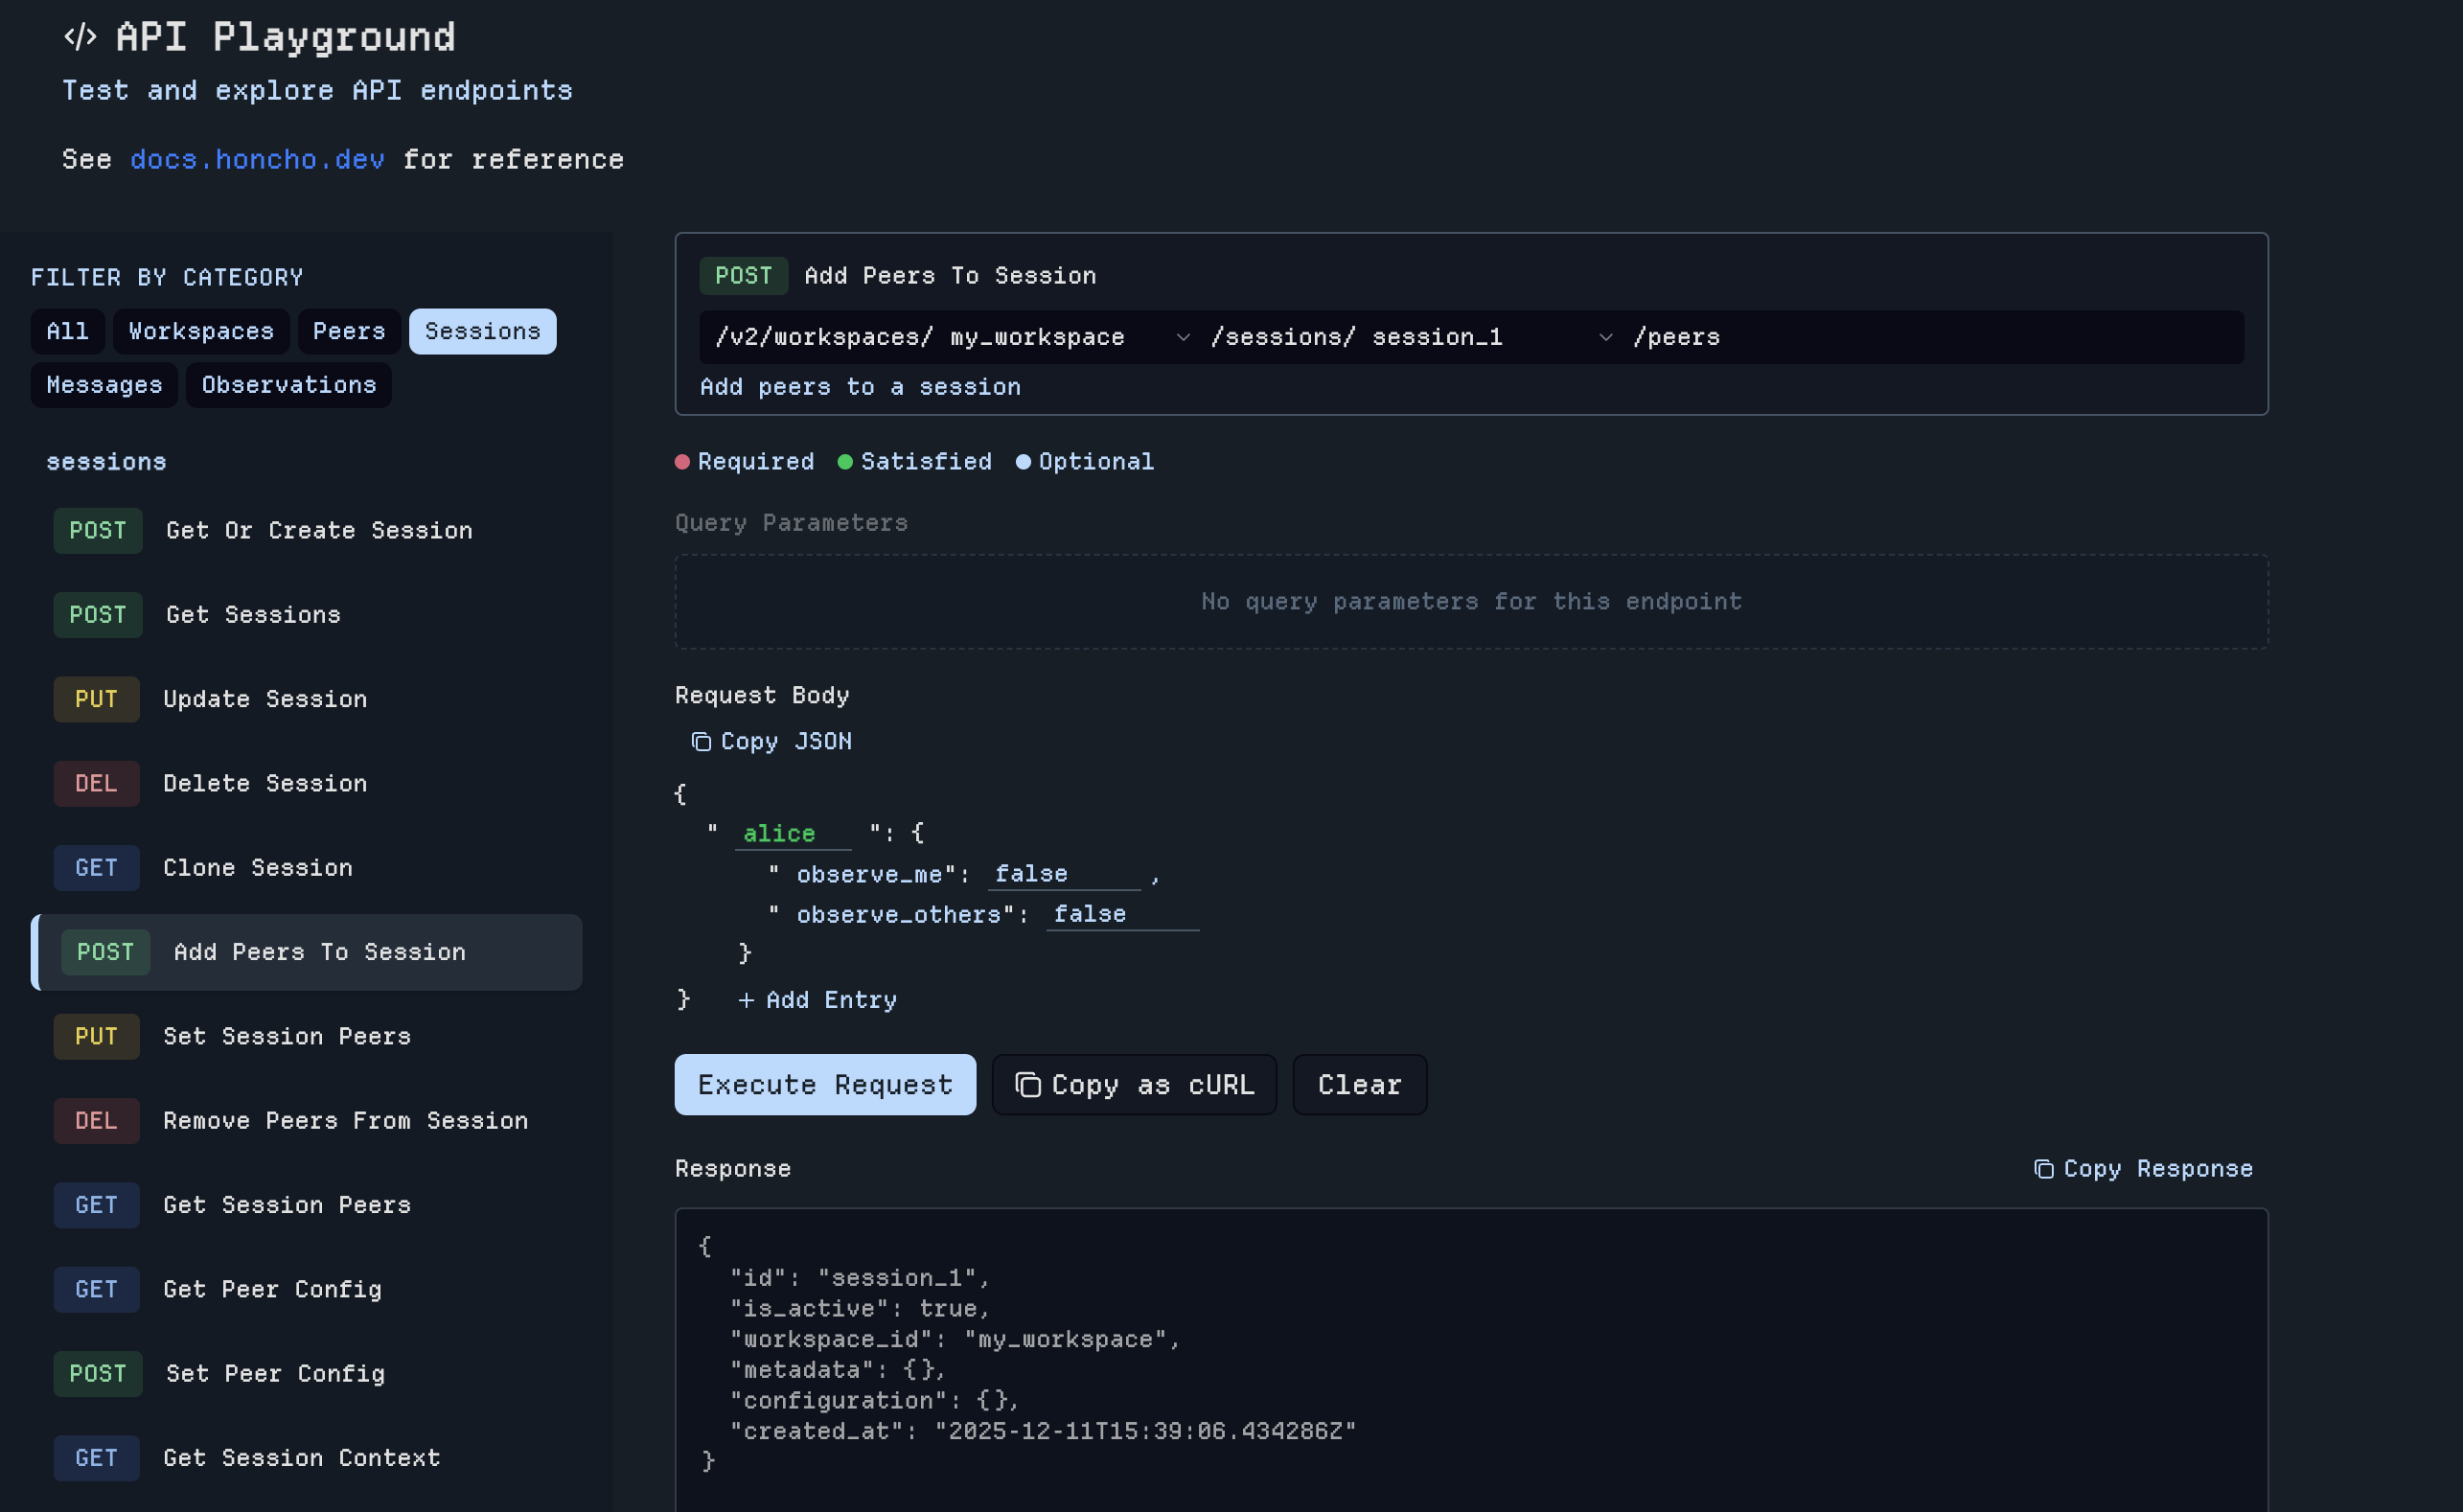
Step-by-Step:
1. Select an Endpoint: Choose your desired endpoint from the available list. 2. Choose Path Parameters: For fields like Workspace, Session, or Peer, select options from dropdown menus—no need to manually enter IDs. 3. Add Request Body Data: Complete any required fields for POST/PUT requests. 4. Execute or Copy Request: Run it directly or copy as cURL to use elsewhere (just add your API key).Example Usage
Build a complete conversation flow without ever leaving the playground:-
Create a Workspace:
select
POST Get or Create Workspaceand type workspace name into the request body → Returns workspace ID -
Create new Peer(s):
select
POST Get or Create Peer,choose your workspace from the dropdown, and type peer name into the request body. (repeat for each peer) → Returns peer ID -
POST Get or Create Session
POST /sessionsselecting your workspace from the dropdown then type session name into the request body → Returns session ID and adds to dropdown -
POST Create Messages for Session
POST /messagesselecting your workspace & session from the dropdown then type peer id(s) and message content into the request body → Adds message(s) to the session
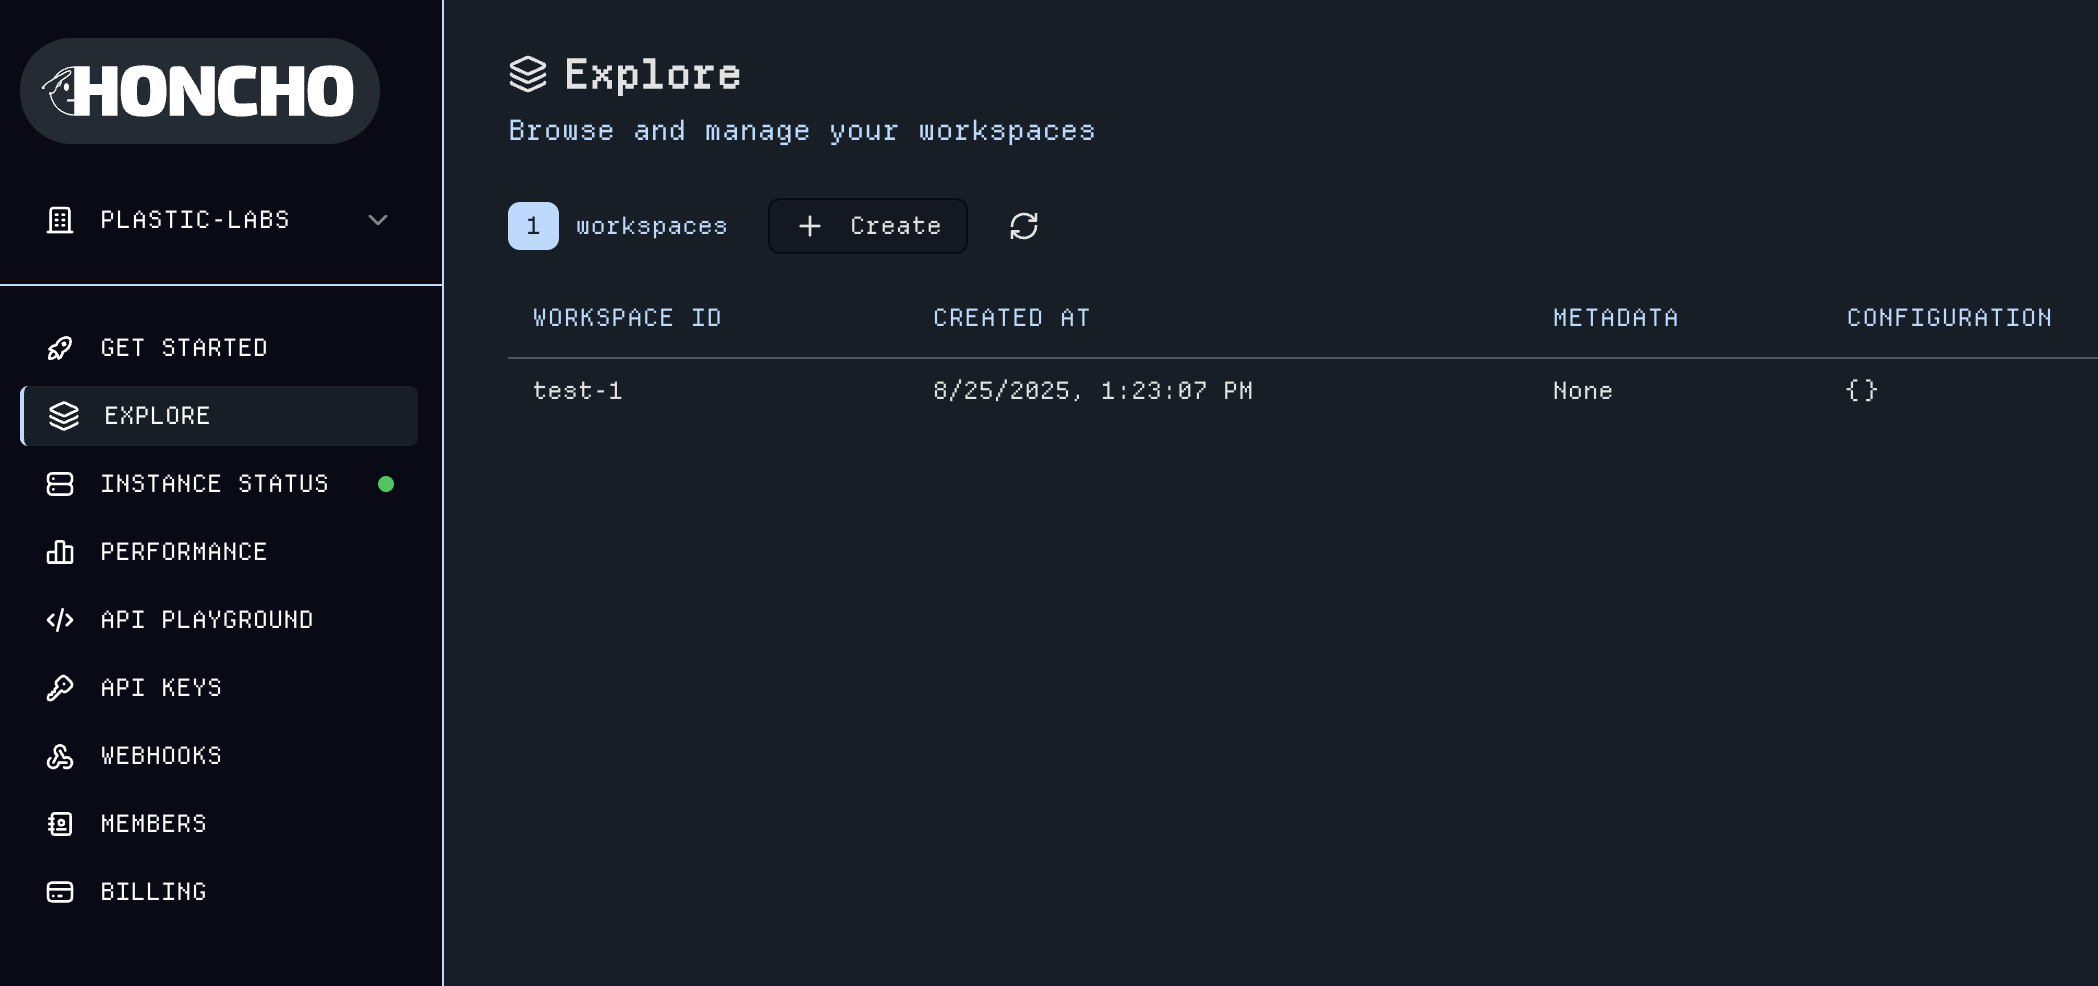
5. Workspaces
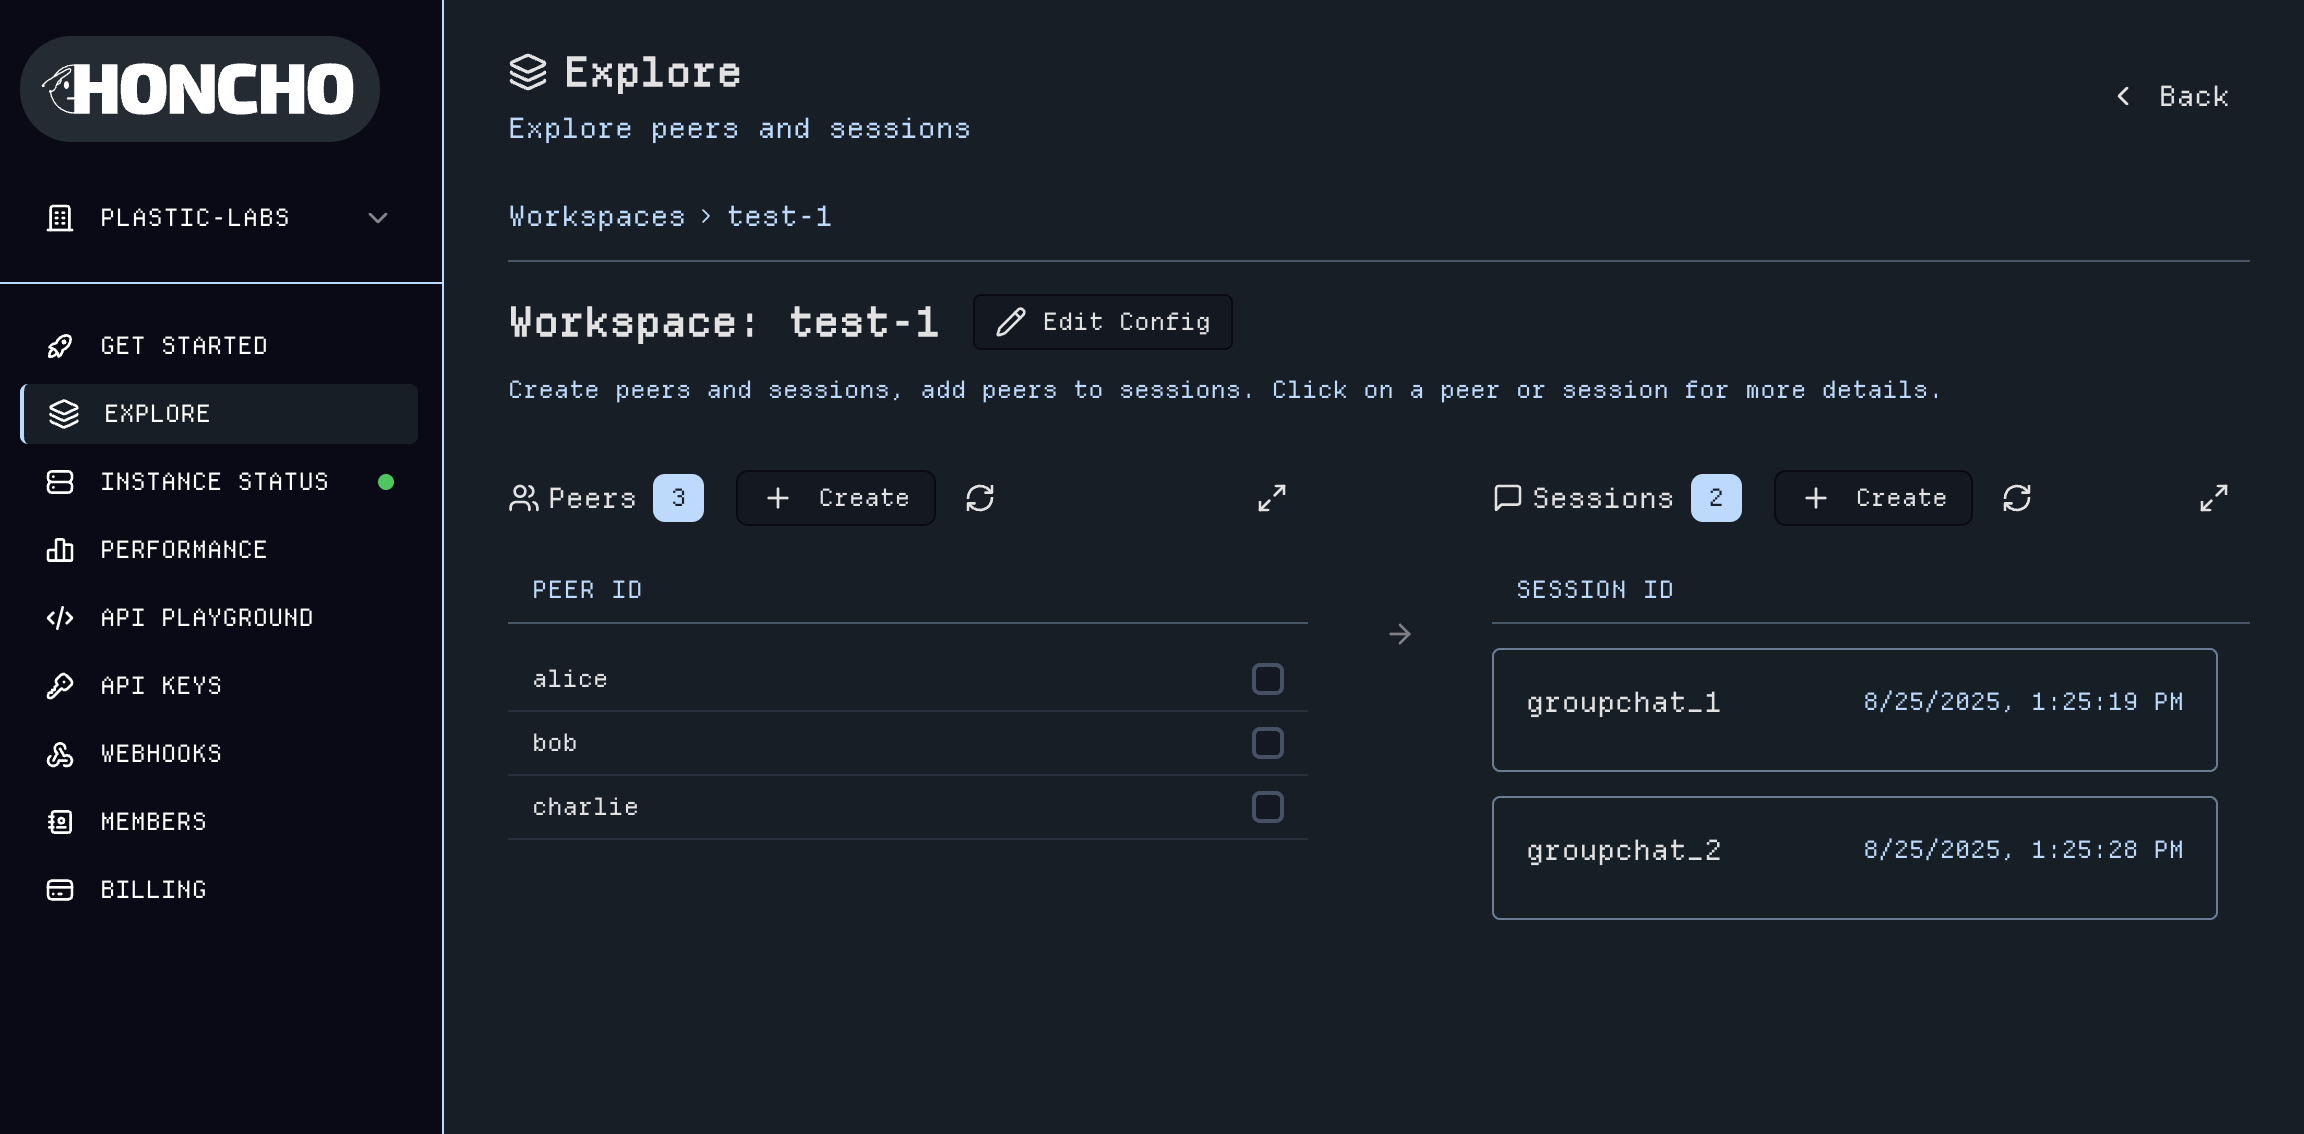
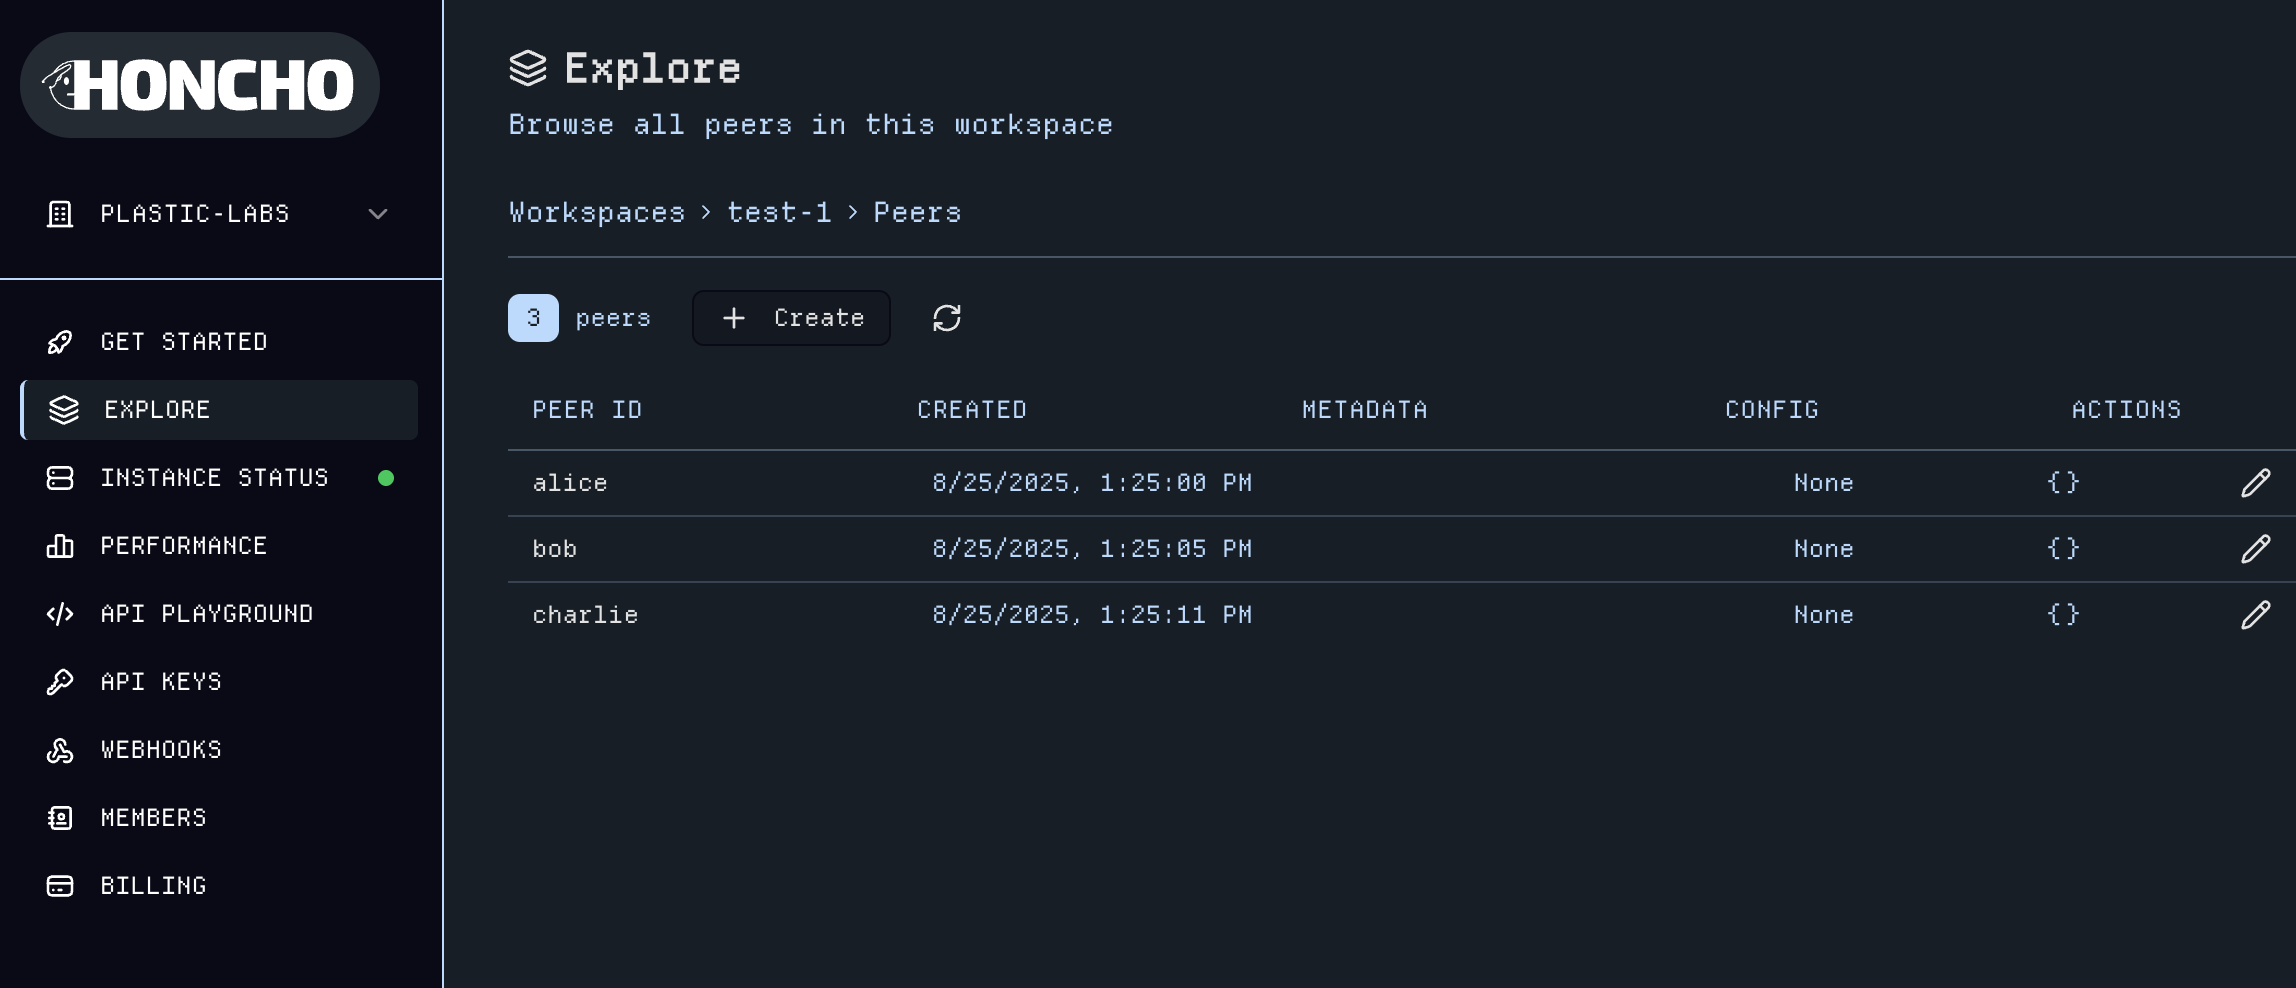
The Explore page provides comprehensiveWorkspace management where you can create workspaces and begin exploring the platform. Each Workspace serves as a container for organizing your Honcho data.
Peers and Sessions. Here you can quickly create Peers, Sessions, and add multiple Peers to any Session. Edit the metadata and configuration for a Workspace with the Edit Config button. Click into any entity to navigate to their respective utilities pages or click the expand icon to view Workspace-wide Peers and Sessions data tables with more details.
6. Peer Dashboard & Utilities
Expand thePeers list from the Workspace dashboard to see a detailed view of Peers.
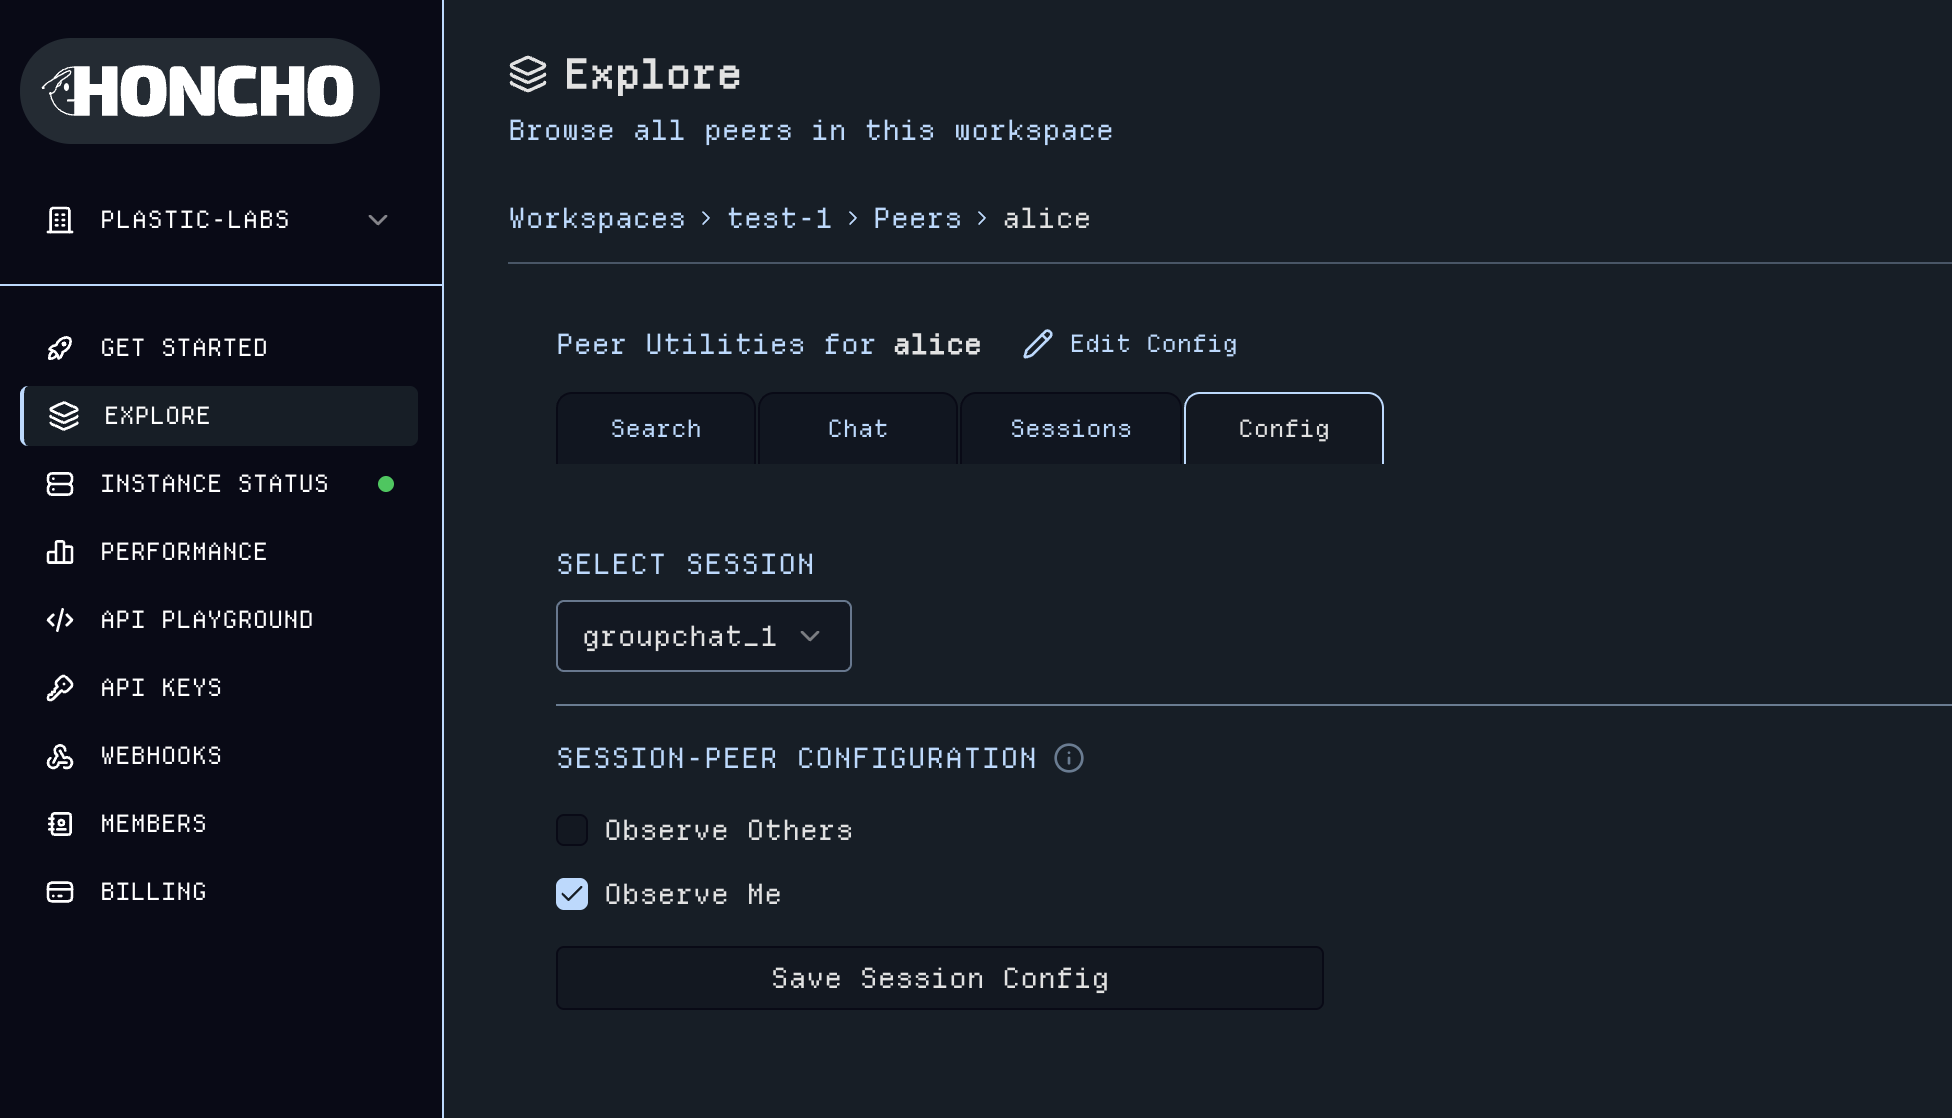
Peer name you can edit the Global Peer Configuration, and in the tabs below, explore all utilities for the Peer.
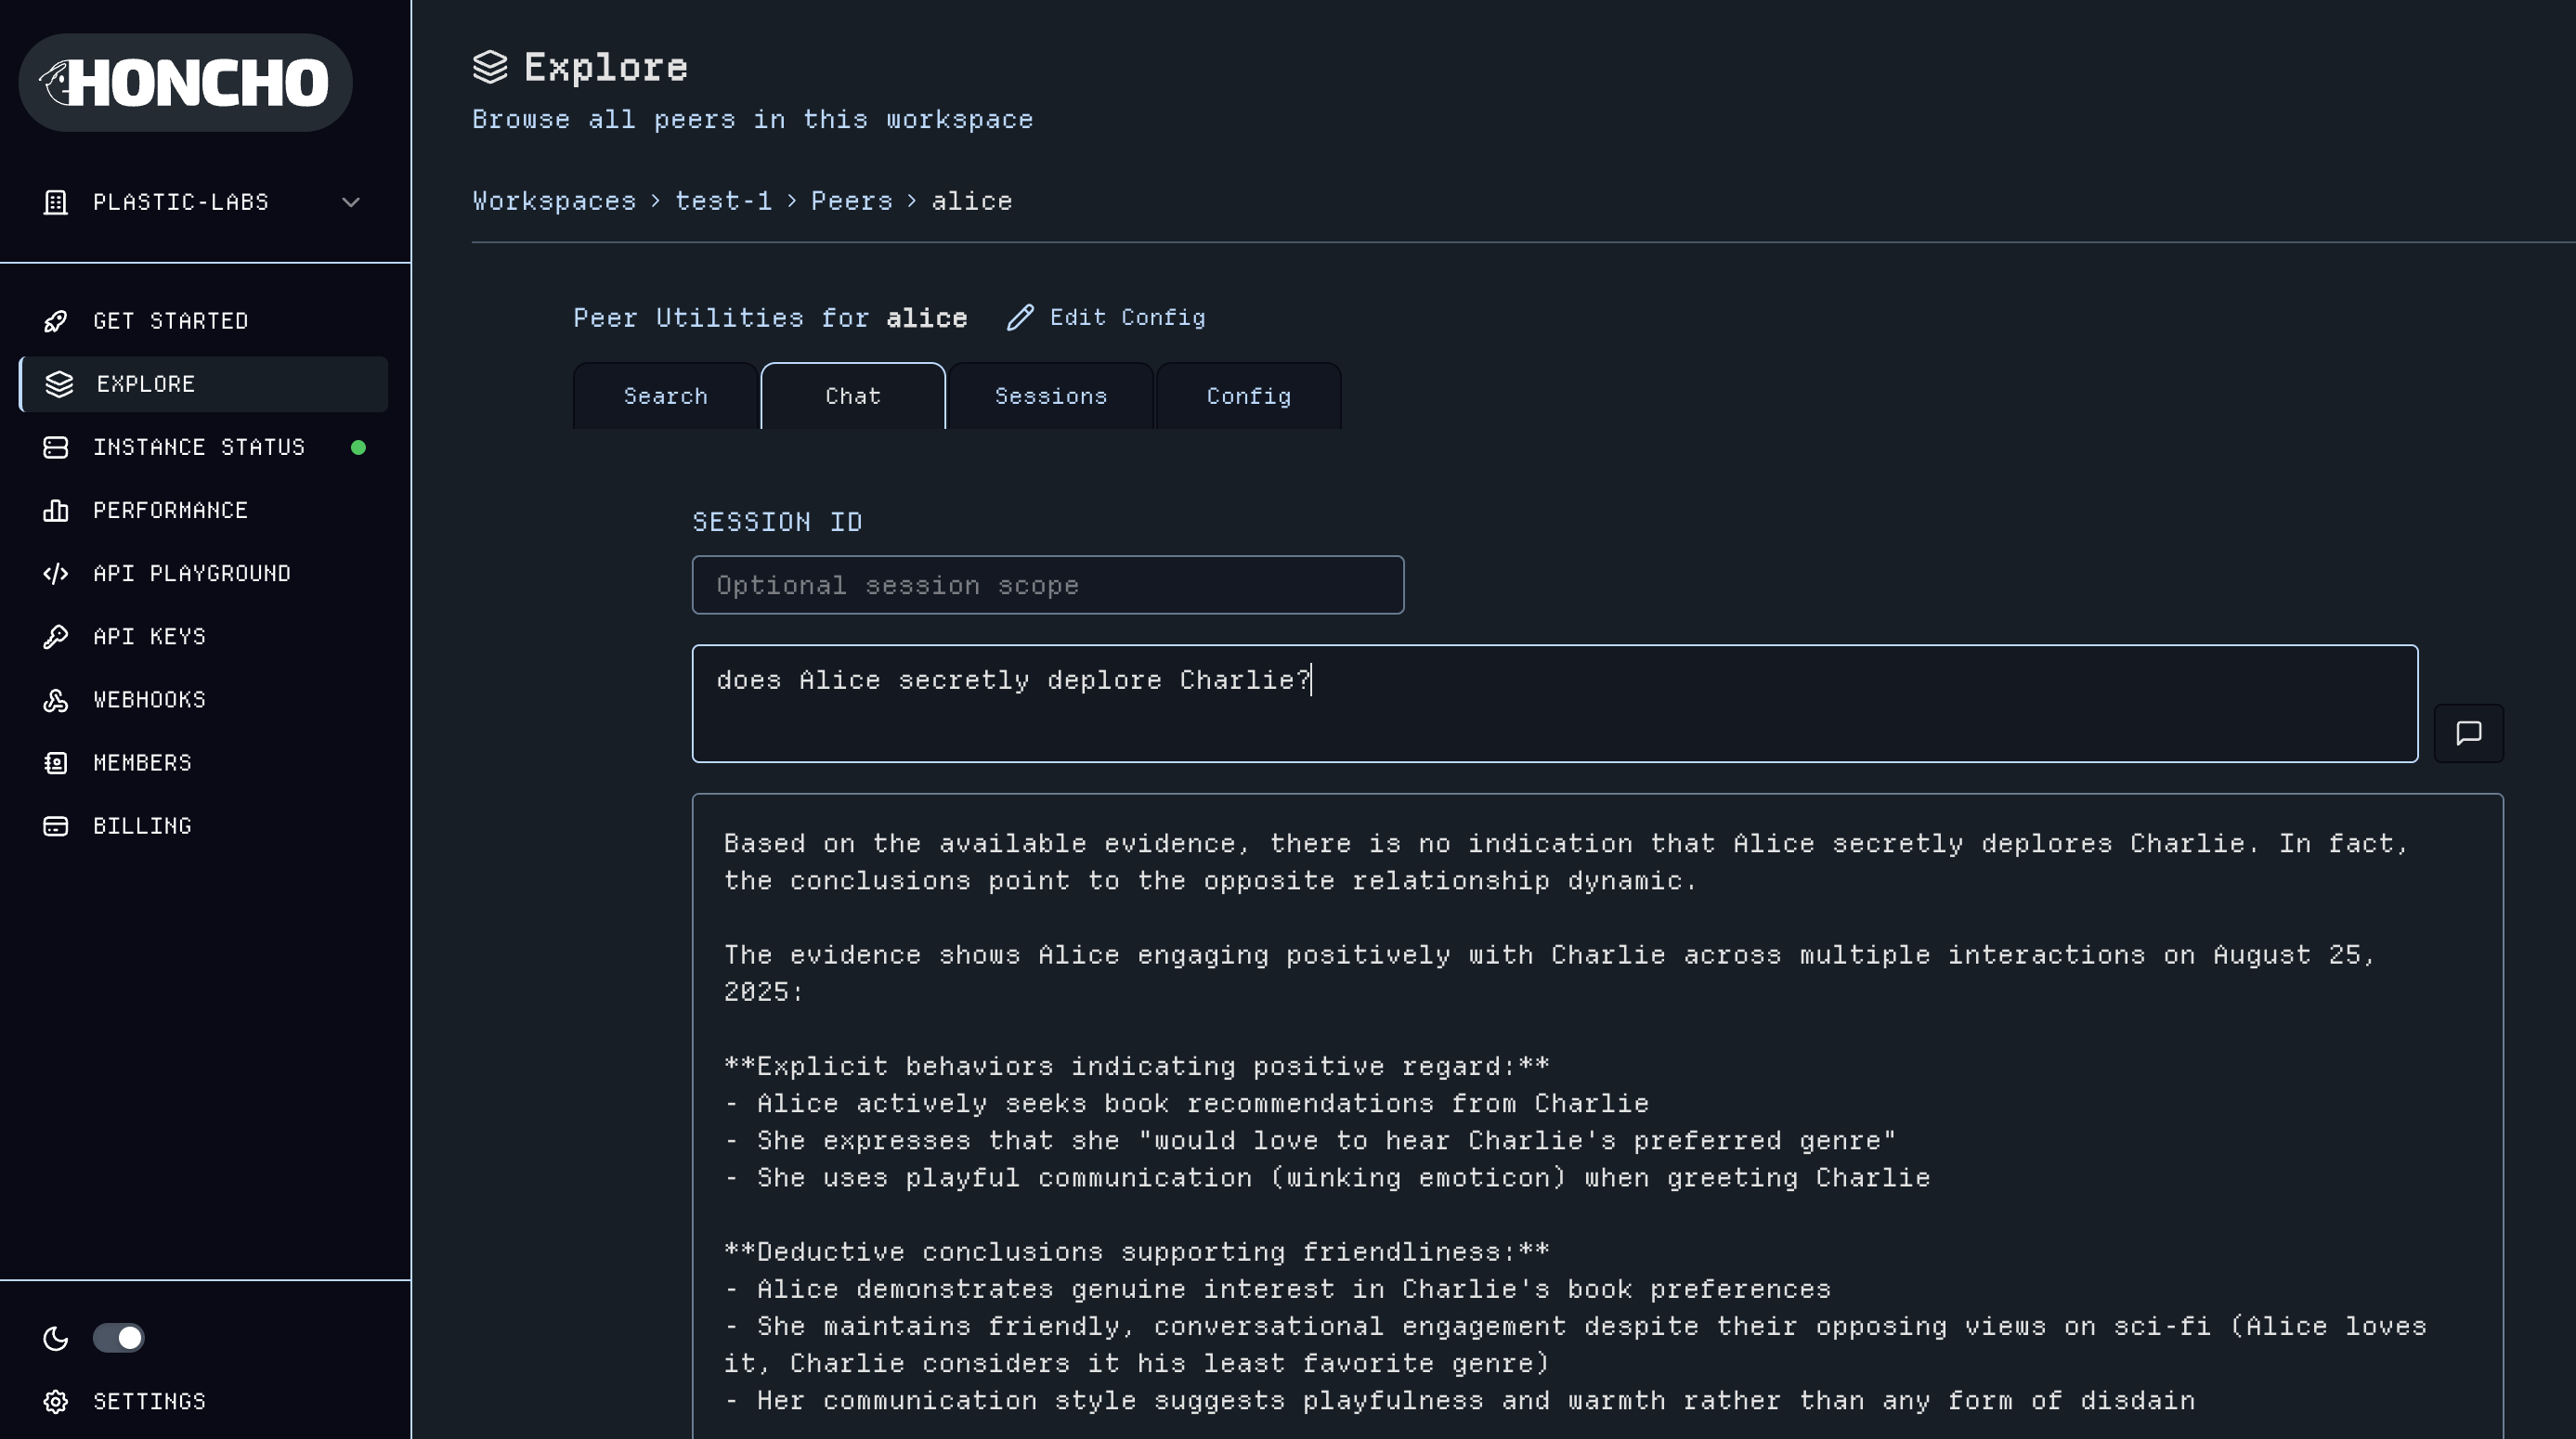
- Message search across all sessions for a
Peer - Dialectic Chat to query
Peerrepresentations globally or session-scoped (results vary dependant on thePeer’s configuration)
- Session logs view which
SessionsthePeeris active - Peer configuration and metadata management including Session-Peer Configuration
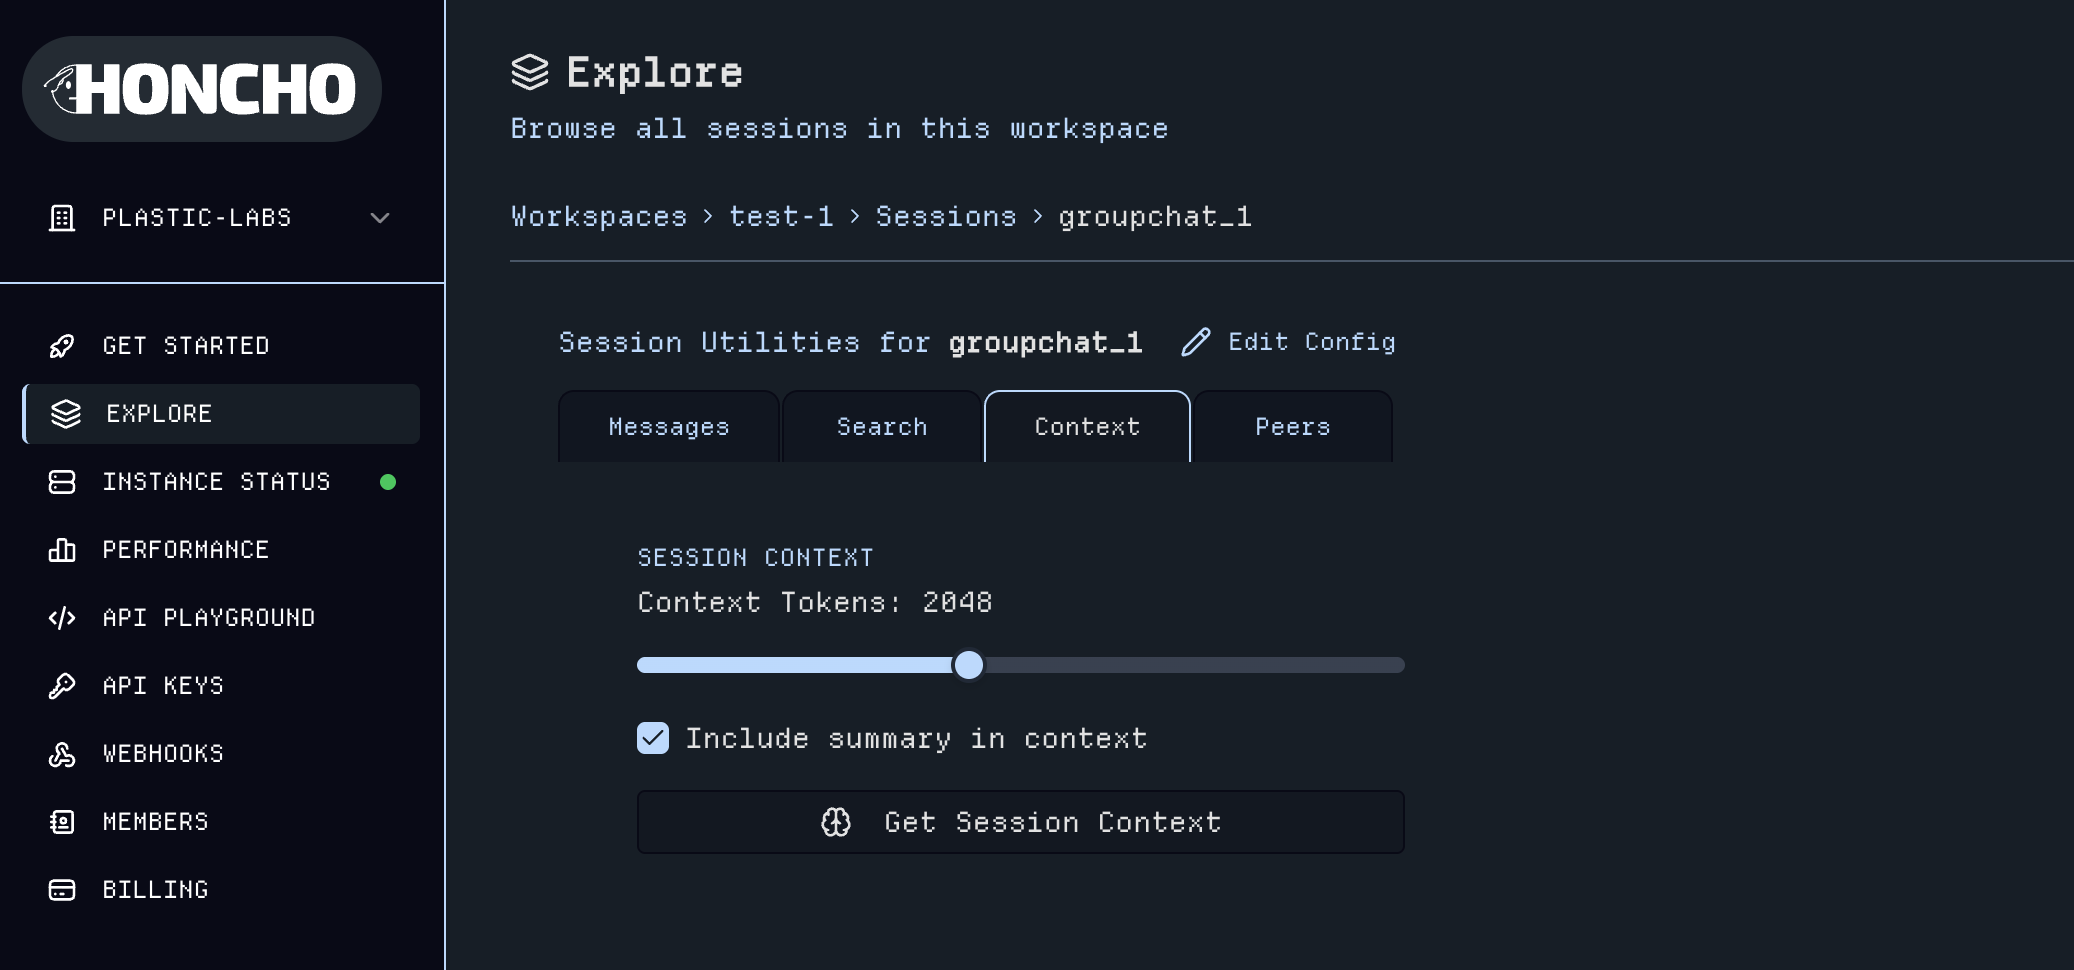
7. Session Dashboard & Utilities
Click into the sessions view within a workspace to see a table of all of yourSessions data.
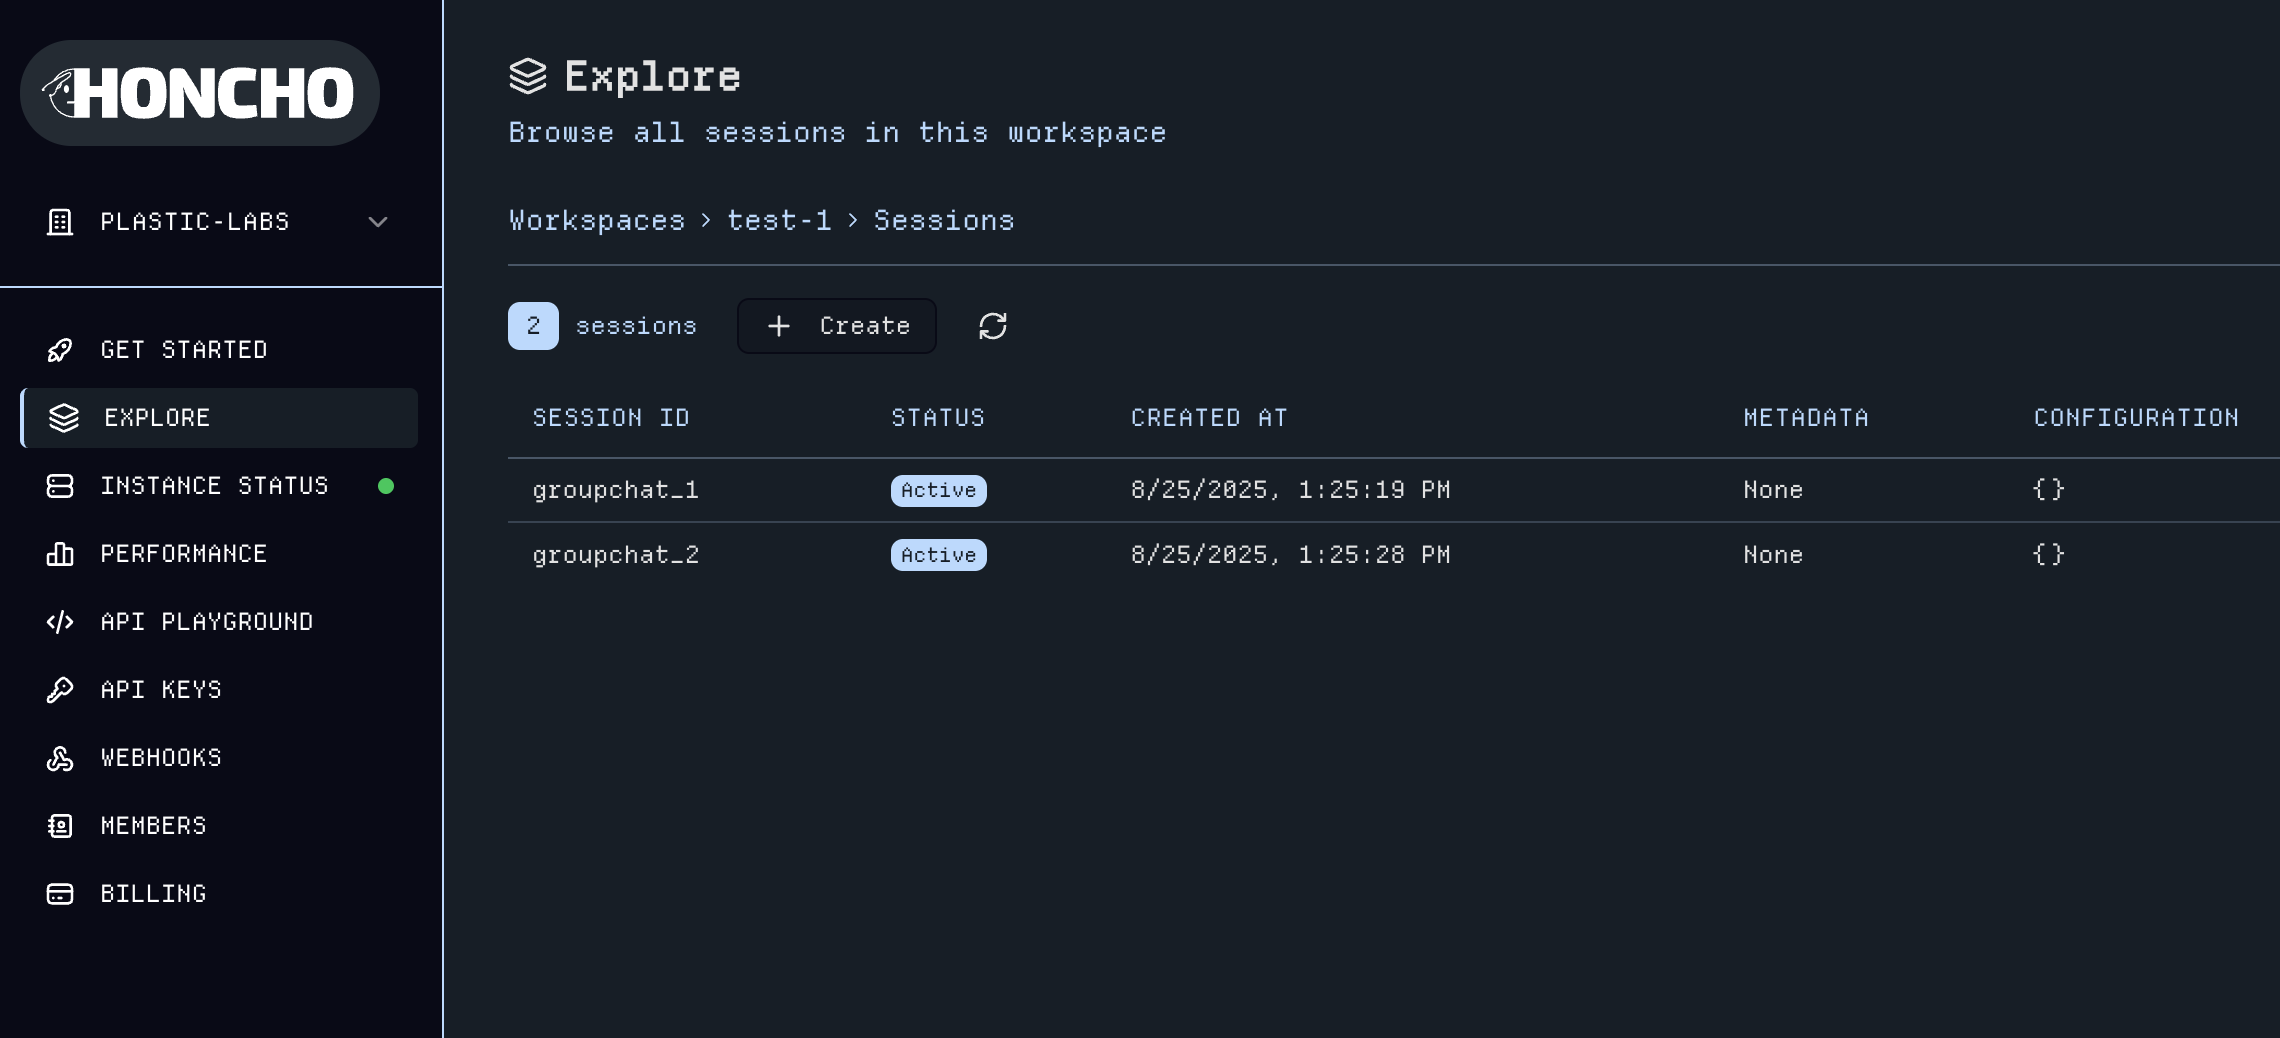
Session to open its utilities page.

- View and add Messages within the
Session; filter messages byPeer - Advanced search across
Sessionmessages - Peer management for adding/removing
Peersand editing aPeer’s Session-level configuration - Get Context to generate LLM-ready context with customizable token limits
8. Performance Monitoring & Analytics
The Performance page offers comprehensive monitoring tools, including usage metrics, health analytics, API response times, and endpoint usage across Honcho.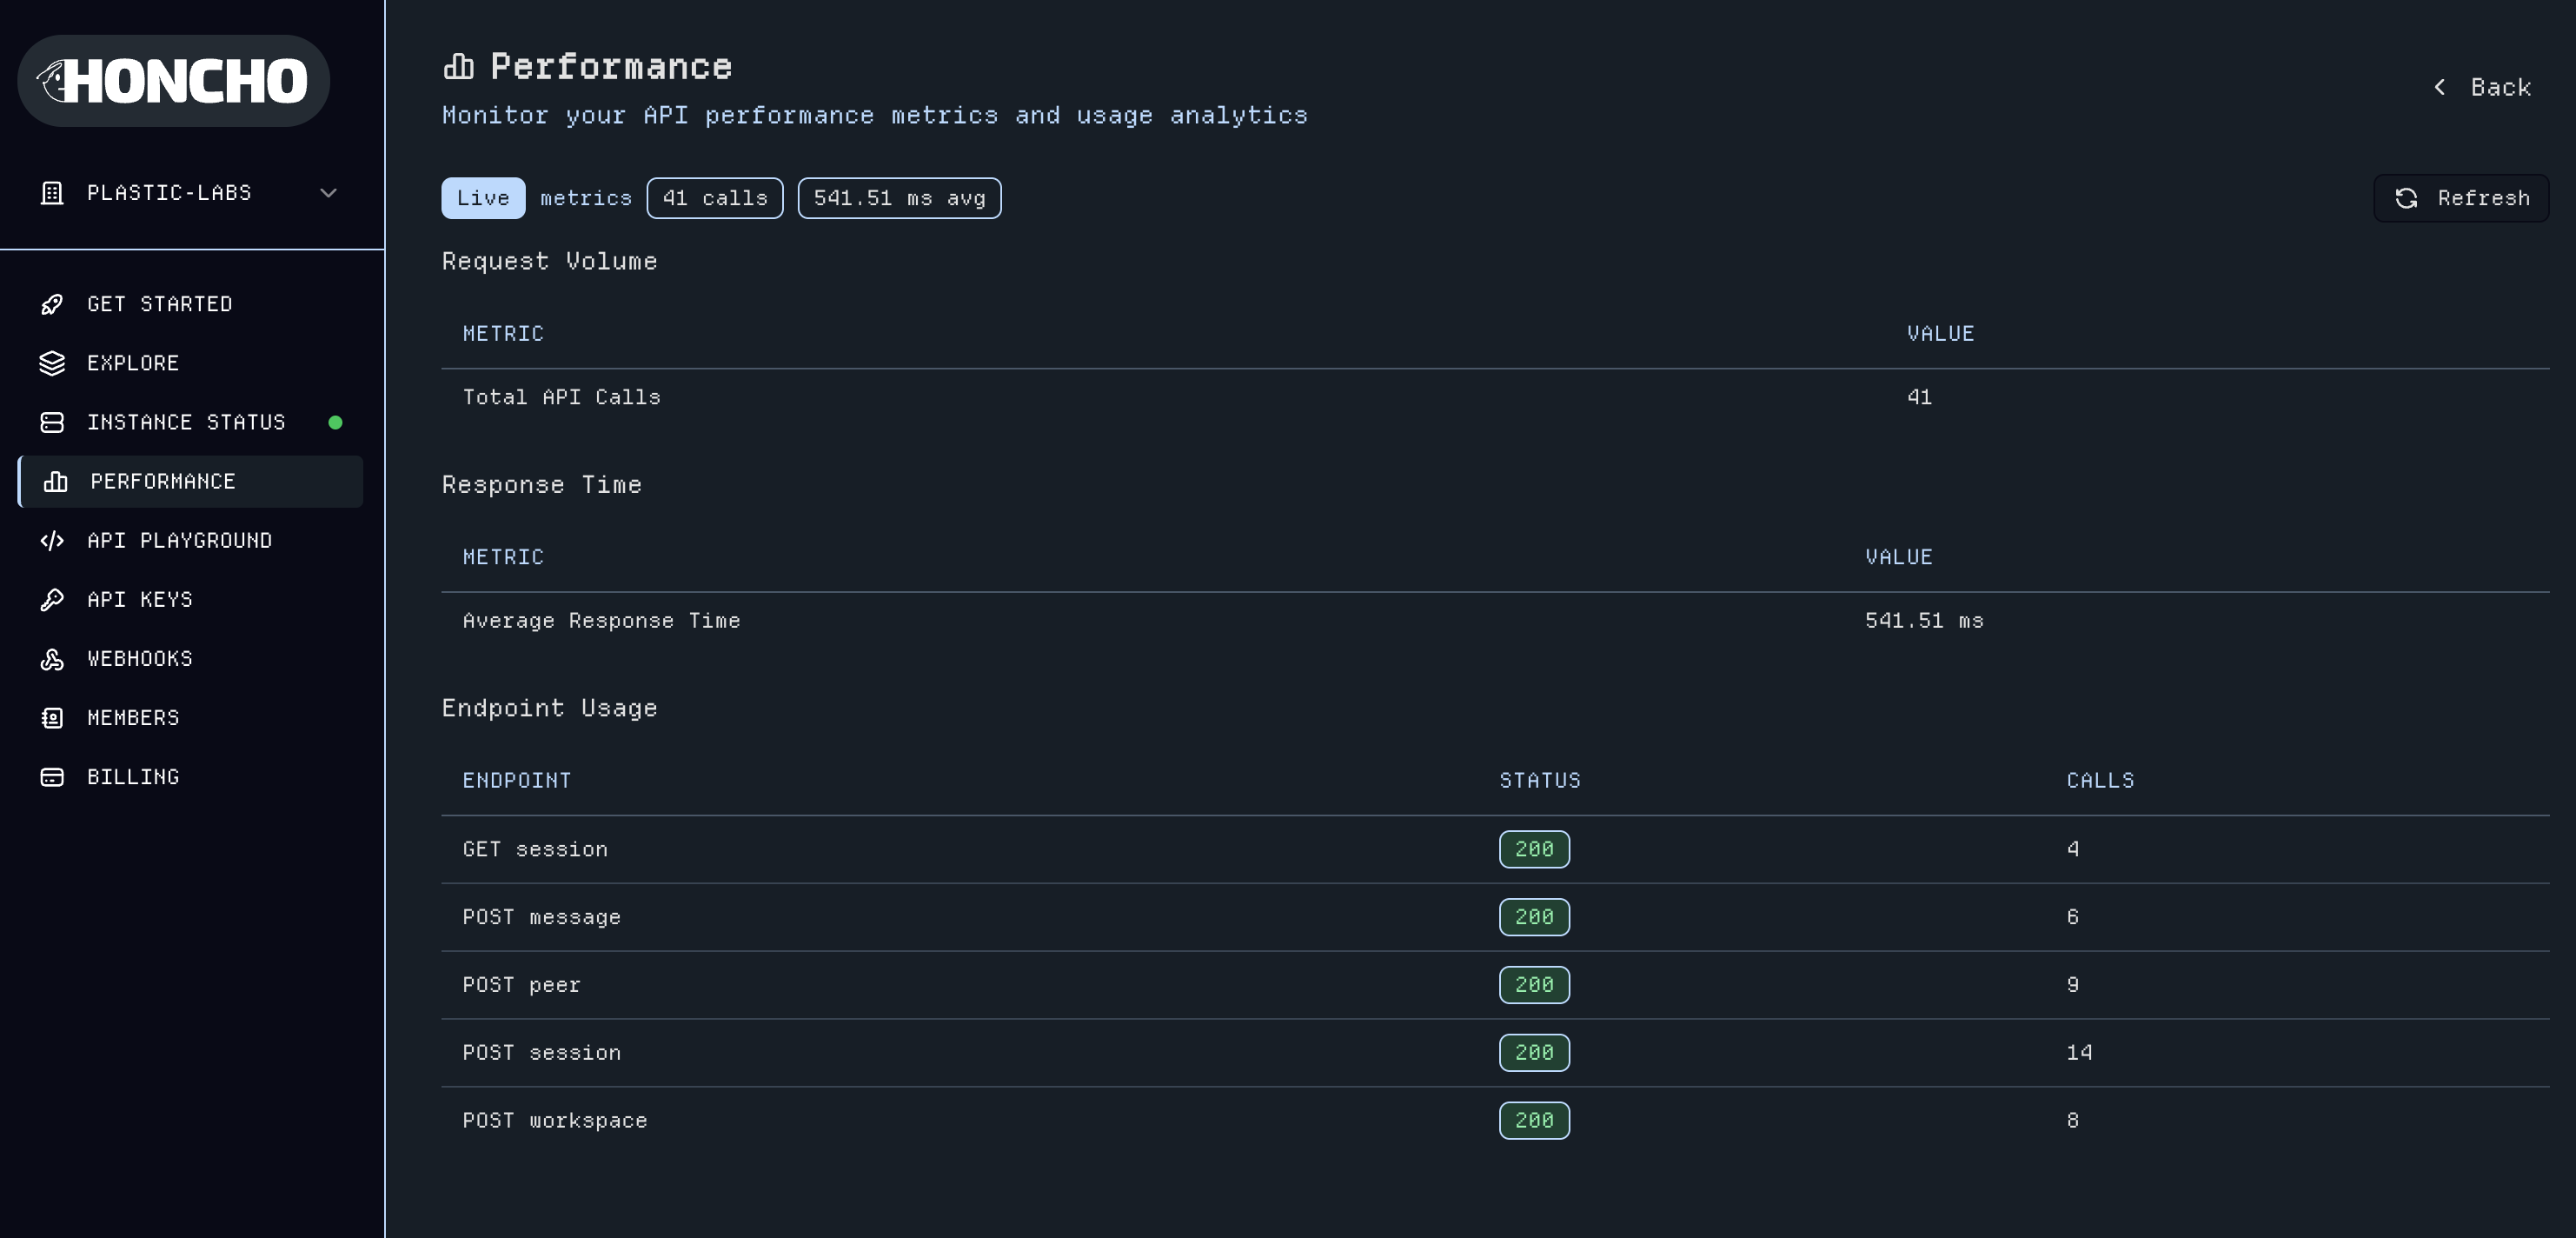
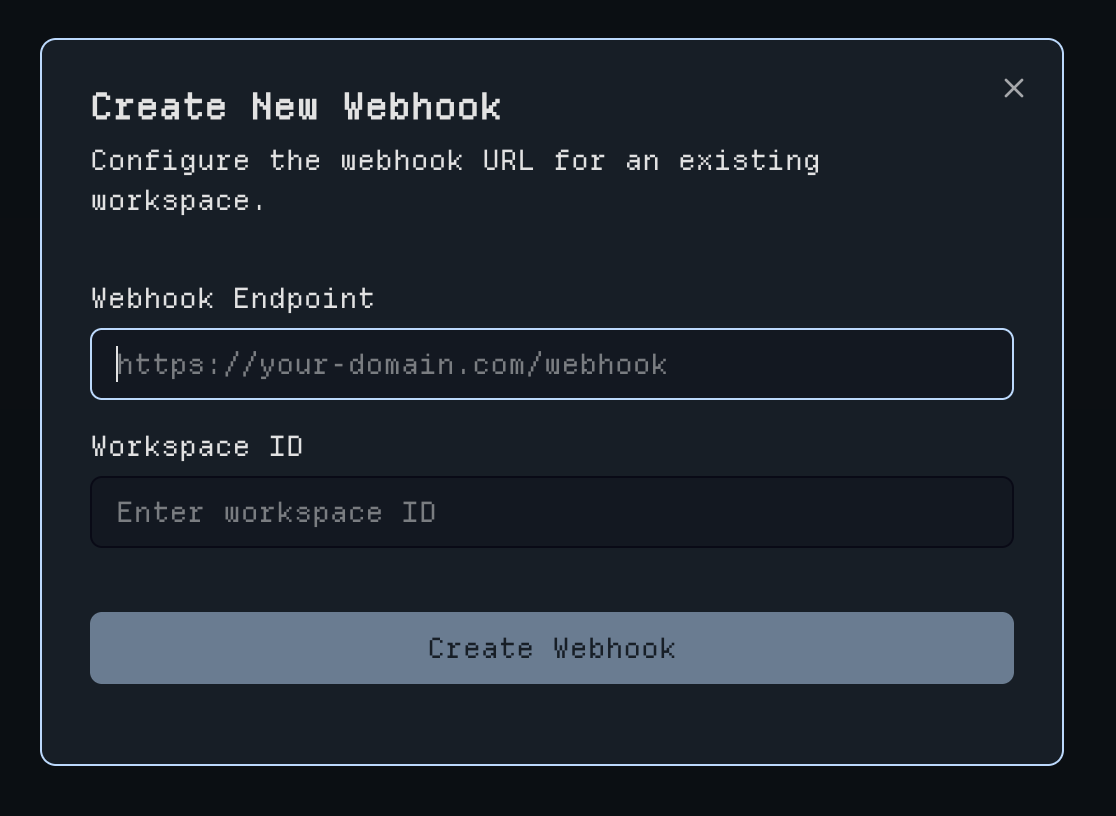
9. Webhooks Integration
The Webhooks page allows managing and creation of webhooks for Honcho. React to events in real-time—such as message delivery, session updates, peer state changes, and more—by sending event payloads via HTTP POST requests to your provided endpoints.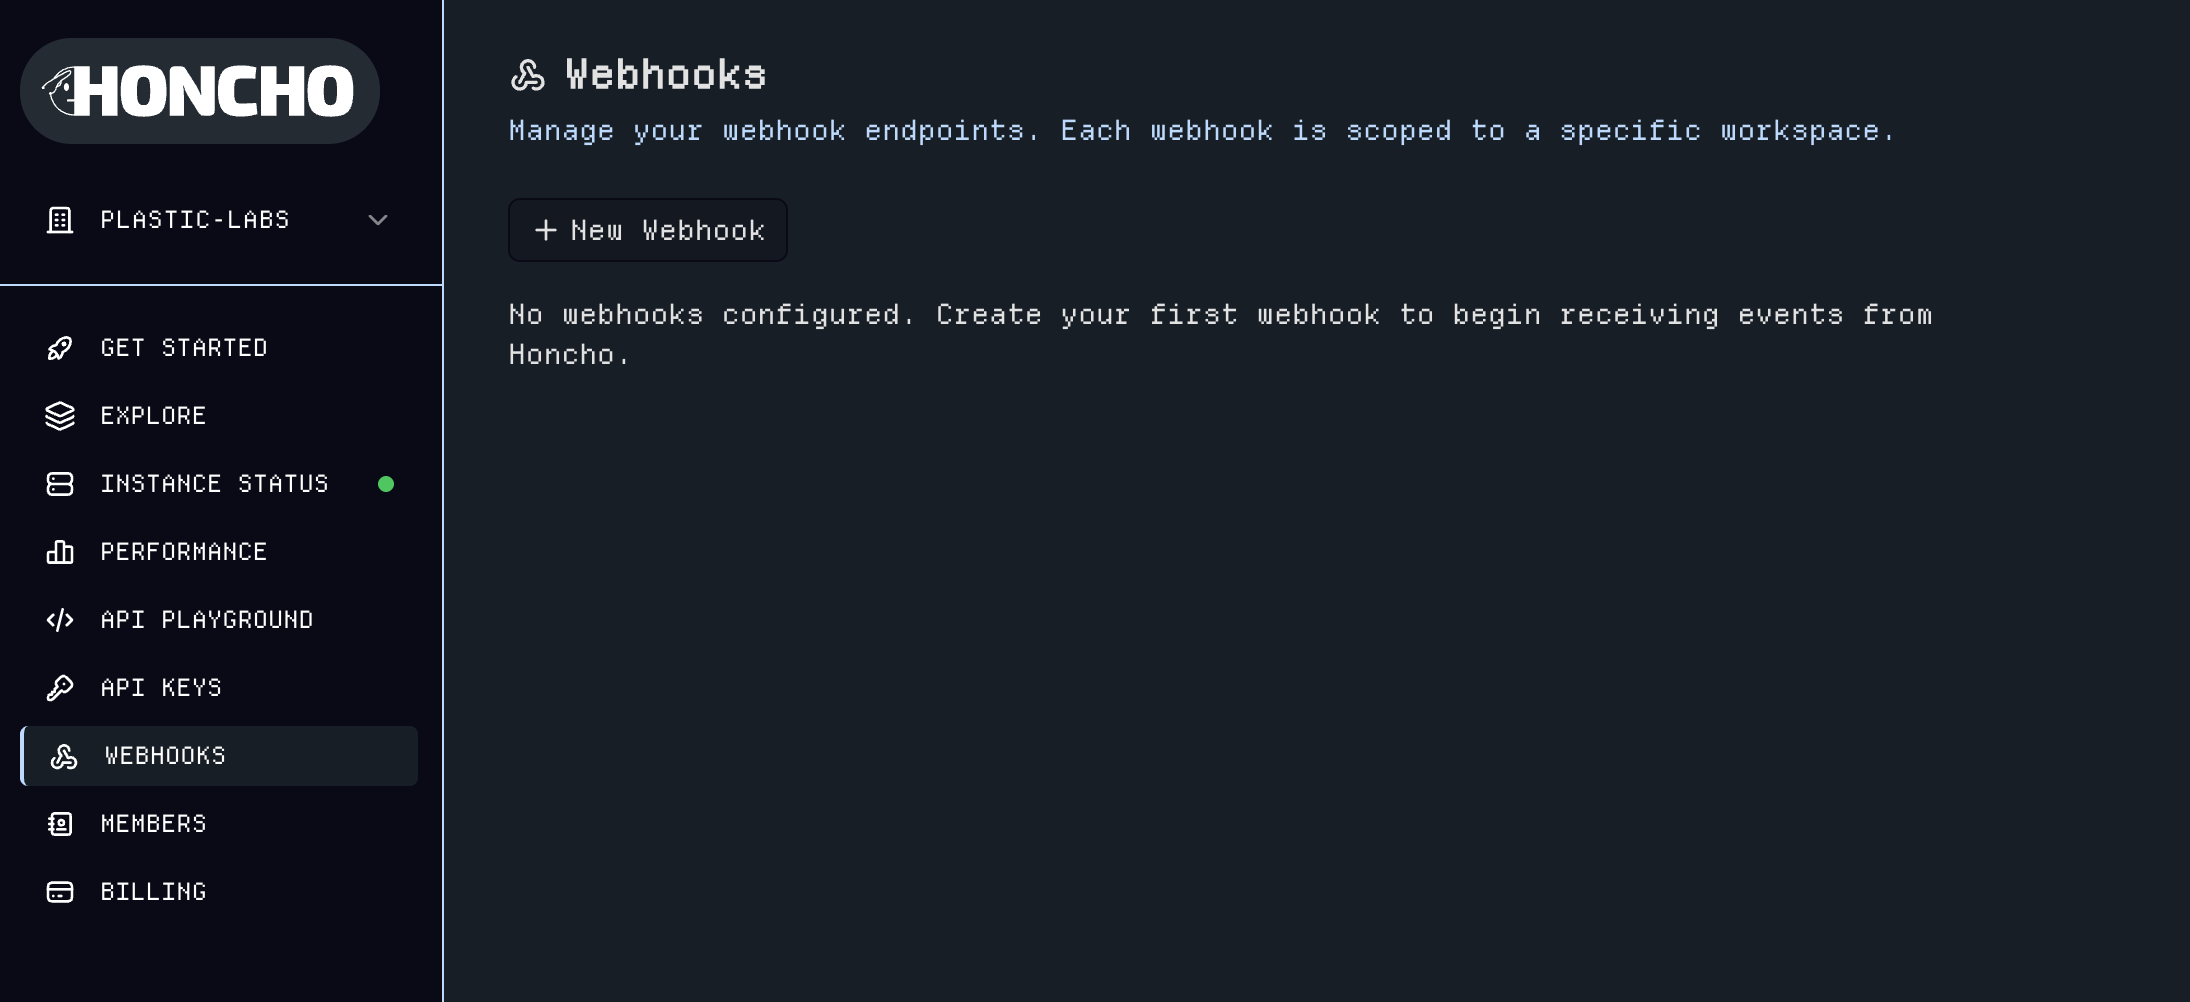
10. Organization Member Access
The Members page provides organization administration to manage your team’s access to Honcho with the ability to grant admin permissions.
Go Further
View the Architecture to see how Honcho works under the hood. Dive into our API Reference to explore all available endpoints.Next Steps
Sign up to Honcho Platform
Get started with managed Honcho instances
Join our Discord
Connect with 1000+ developers building with Honcho
Contribute to Honcho
View our guidelines and explore the codebase
Explore Examples
See Honcho in action with real examples
Ready to build personally aligned AI? Get started with Honcho →